
Chats
A chat is a conversation you can read, write in, or join by voice. Use a direct chat for one person, a group for several people, and Notes for your own messages and files. A place groups related chats and people together.
Find or open a chat
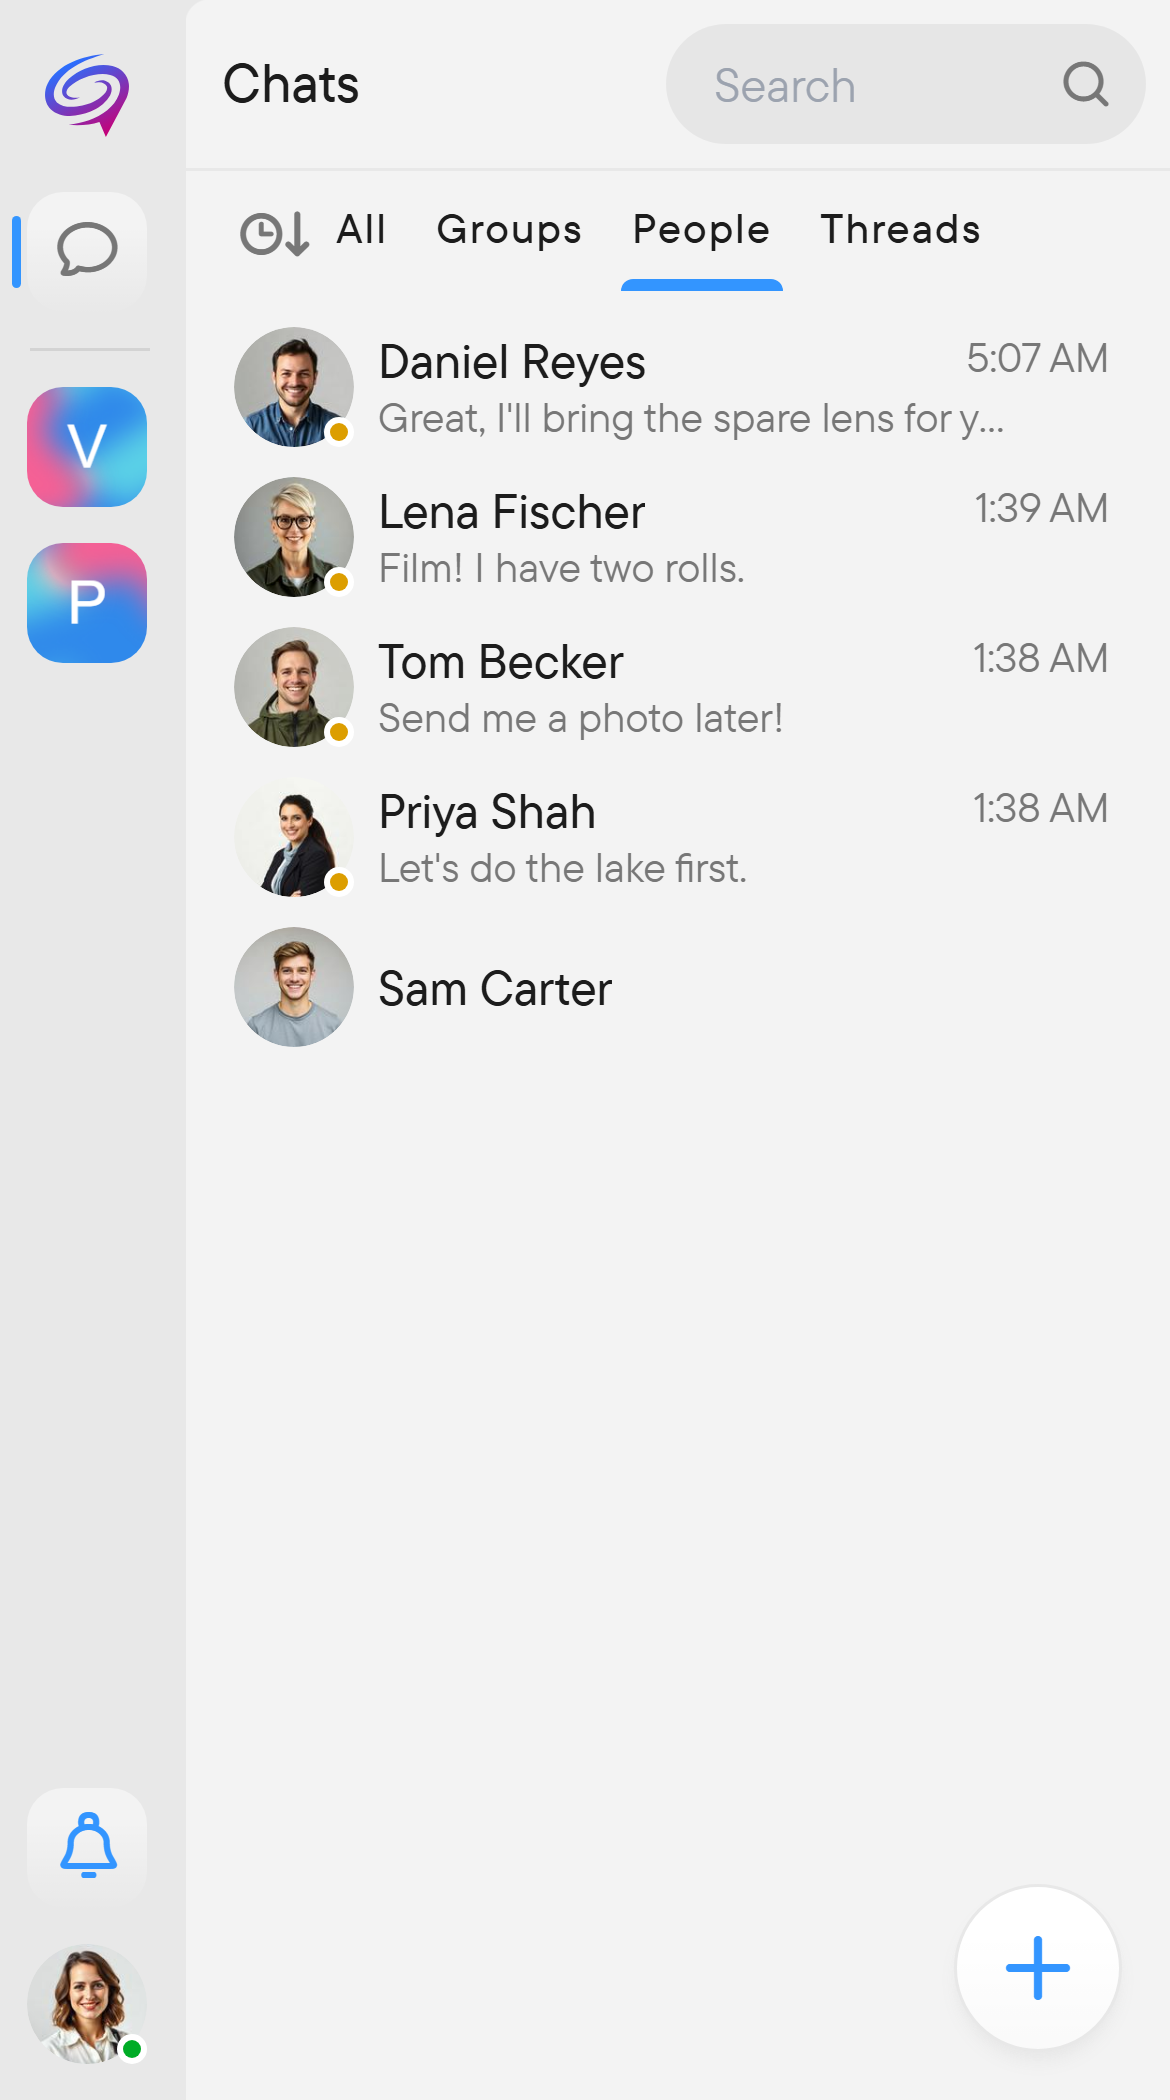
Select a chat in the chat list. The filters above the list are All, Groups, People and Threads: People narrows the list to direct conversations, Groups shows group chats, and Threads shows threads. Use search when the conversation is not in view.
You can also open a shared chat link. A public chat can be joined from its URL. A private chat requires an invitation or a valid private invite link. Opening a link does not override the chat's access rules.
Send a text message
- Open the conversation.
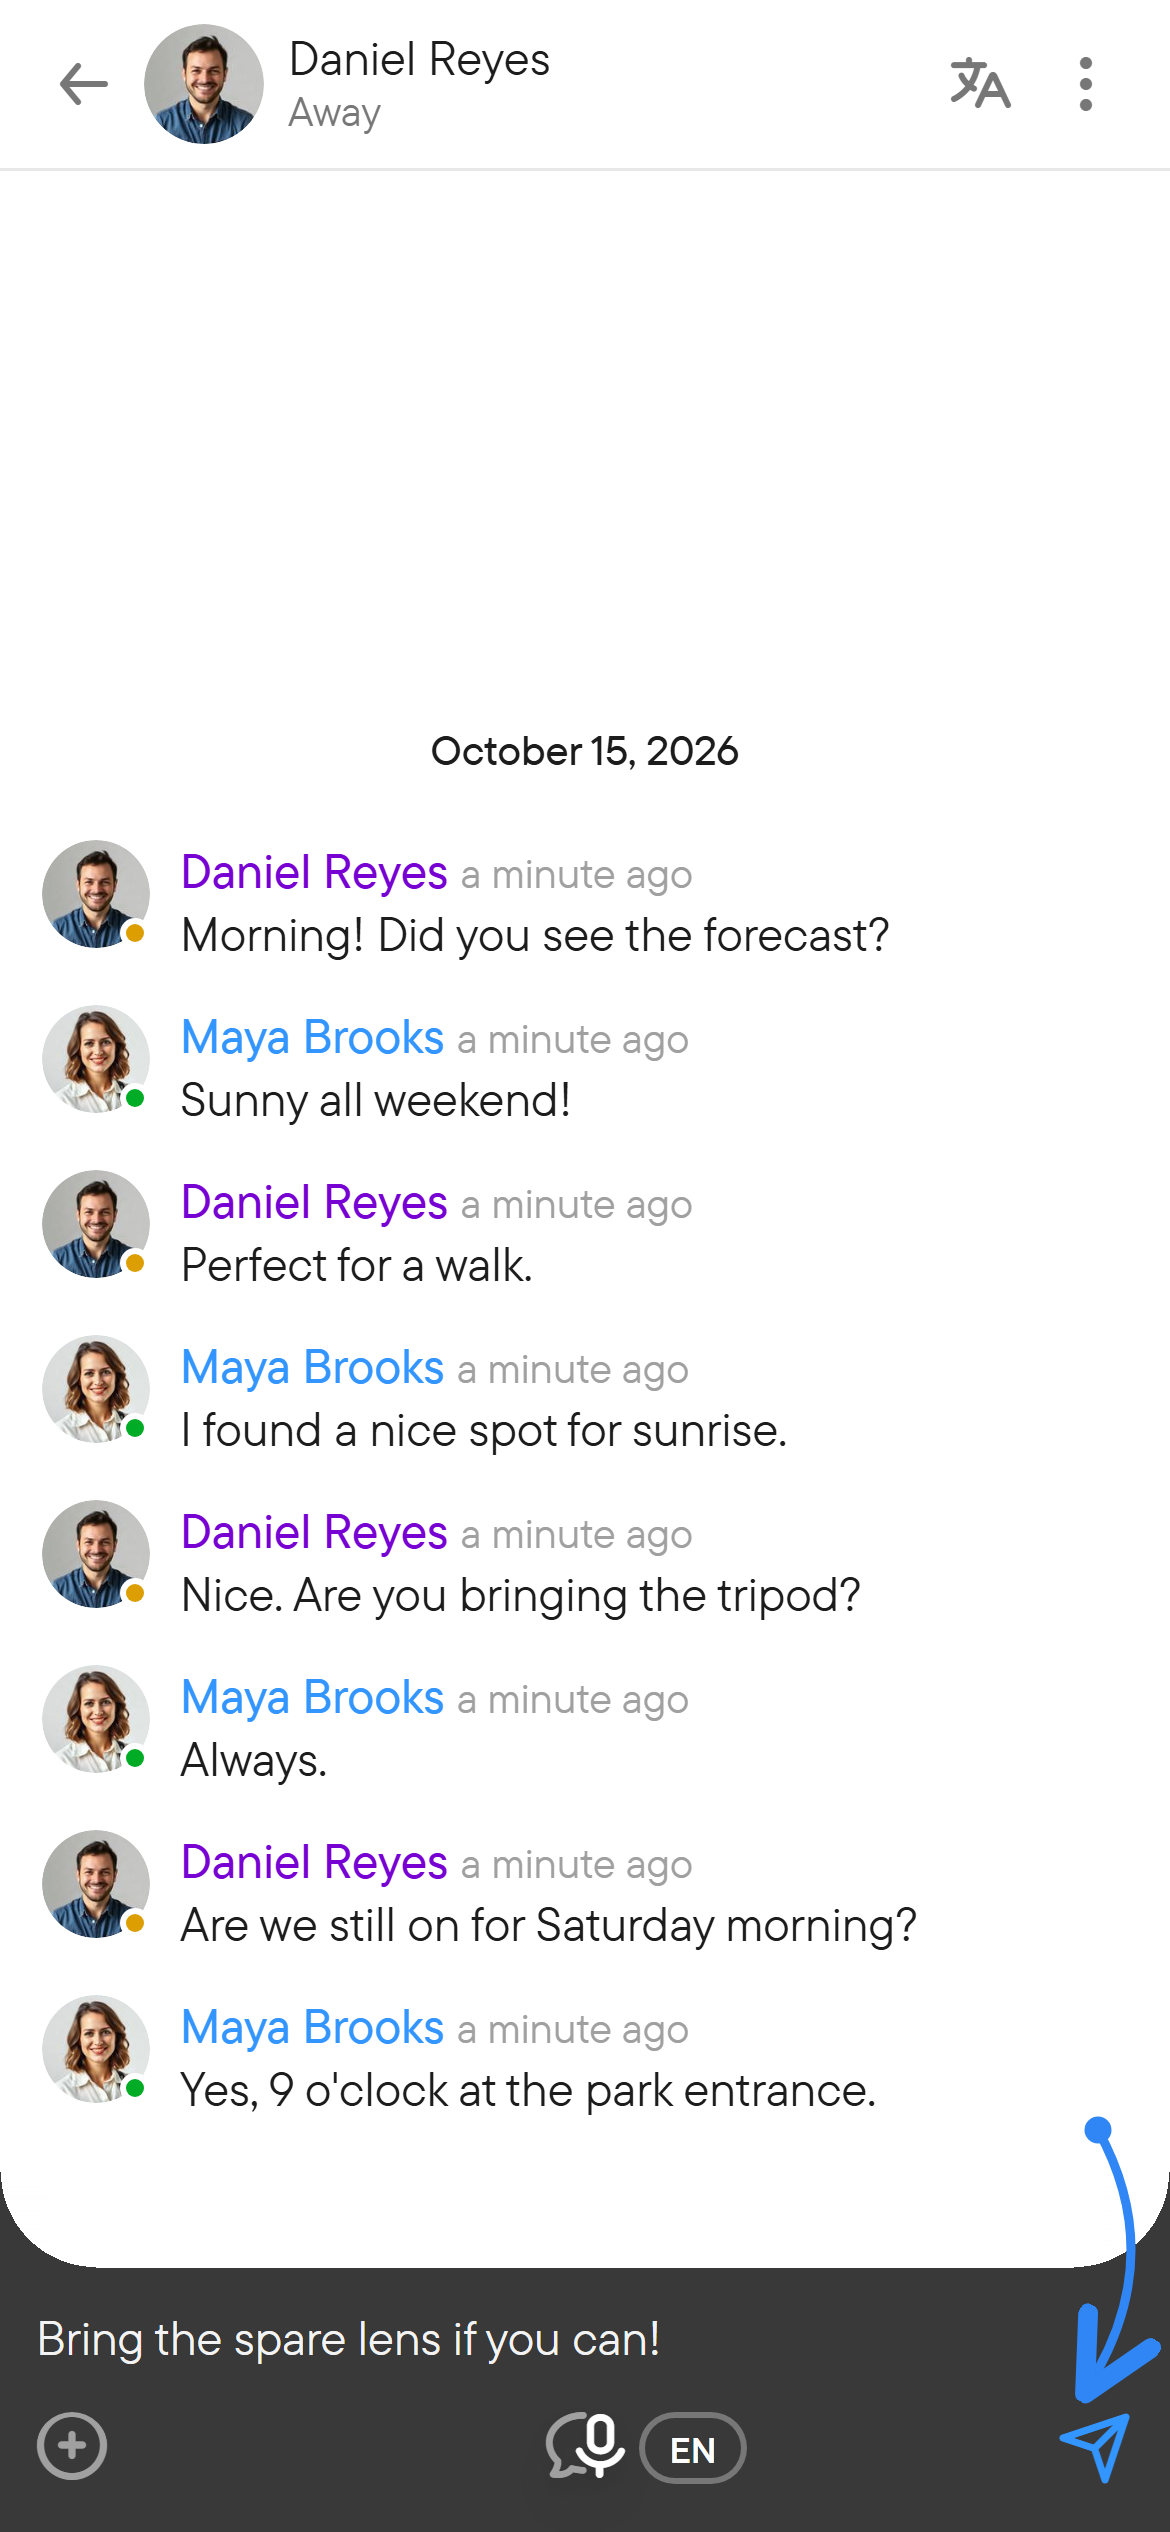
- Type in the composer at the bottom.
- Select the paper-plane Send button, or press Enter on a keyboard.
- Use Shift+Enter for a new line.
You can mix text with voice messages, files, and formatted text. If writing controls are unavailable, check that you have joined the chat and that it allows you to post.
Attach files, emoji, a location, or a mention
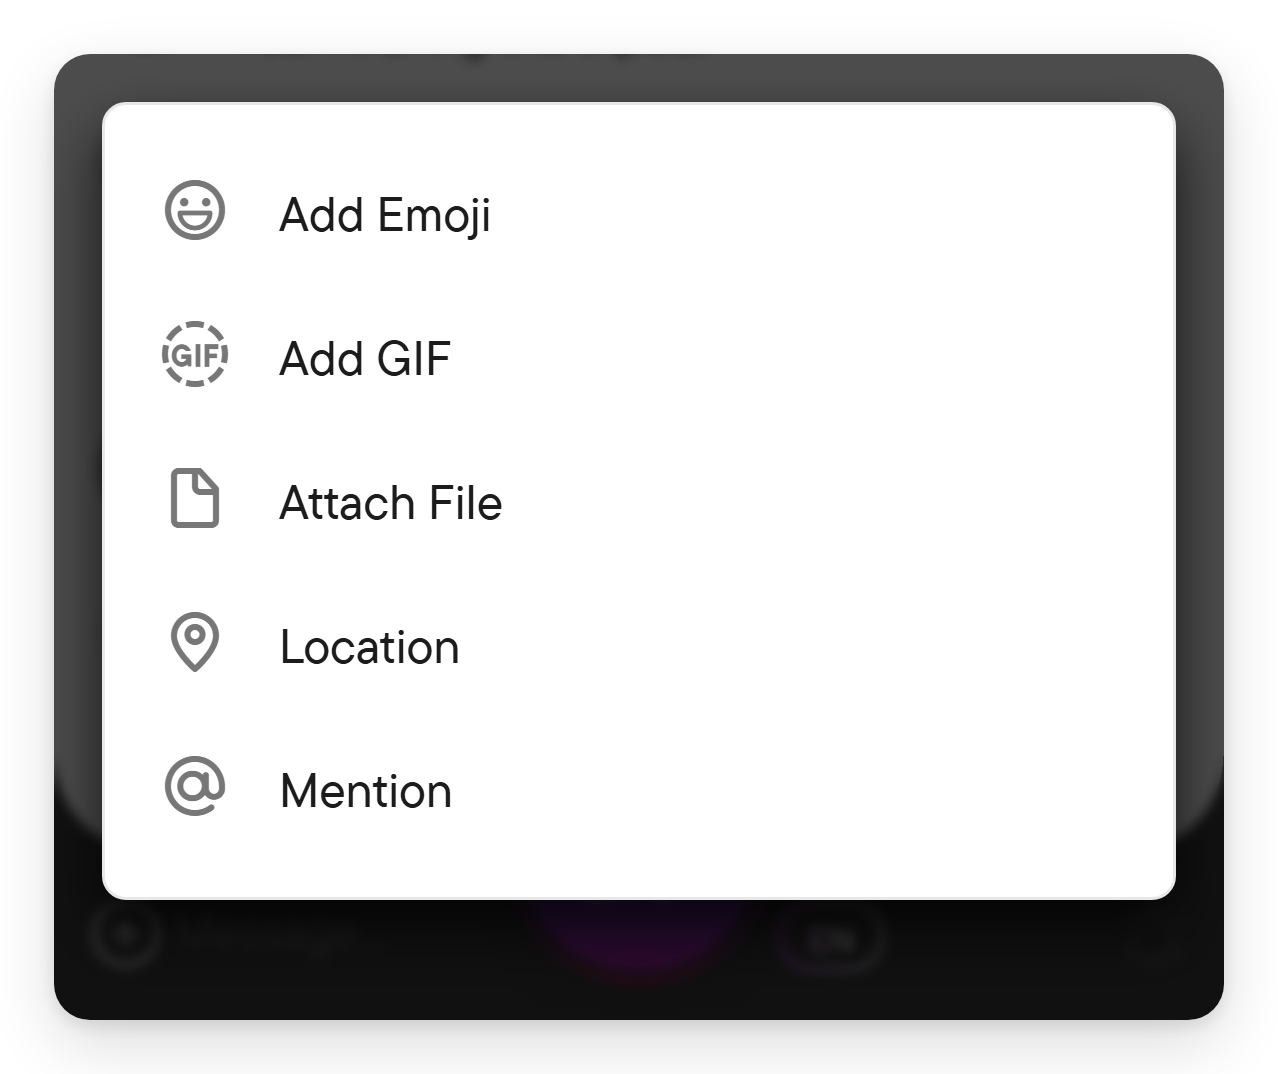
Select the + at the left of the composer to open its menu: Add Emoji, Add GIF, Attach File, Location, and Mention. After you choose files, the composer shows a thumbnail for each one, the number of files with their total size, a button to remove them all, and a + tile to add more.
On desktop there are two quicker ways to attach files: drag files from your computer and drop them onto the chat (a drop area appears over it while you drag), or paste an image or file from the clipboard into the composer.
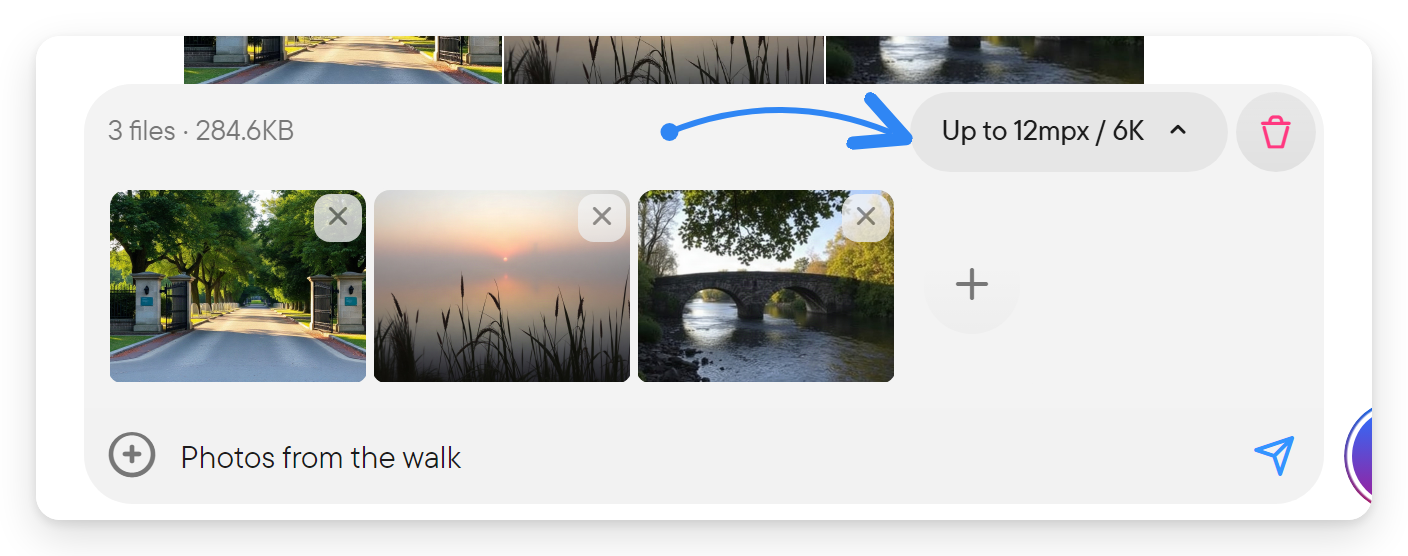
When the attachments include photos, a quality button appears above the composer. Select it to choose how the photos are sent:
| Option | Meaning |
|---|---|
| Original with EXIF | Full size; keeps location and camera data. |
| Original | Full size. |
| Up to 12mpx / 6K | Larger photos are reduced to about 12 megapixels. This was the selection in the desktop web app when a photo was first attached. |
| Up to 3mpx / 3K | Larger photos are reduced to about 3 megapixels. |
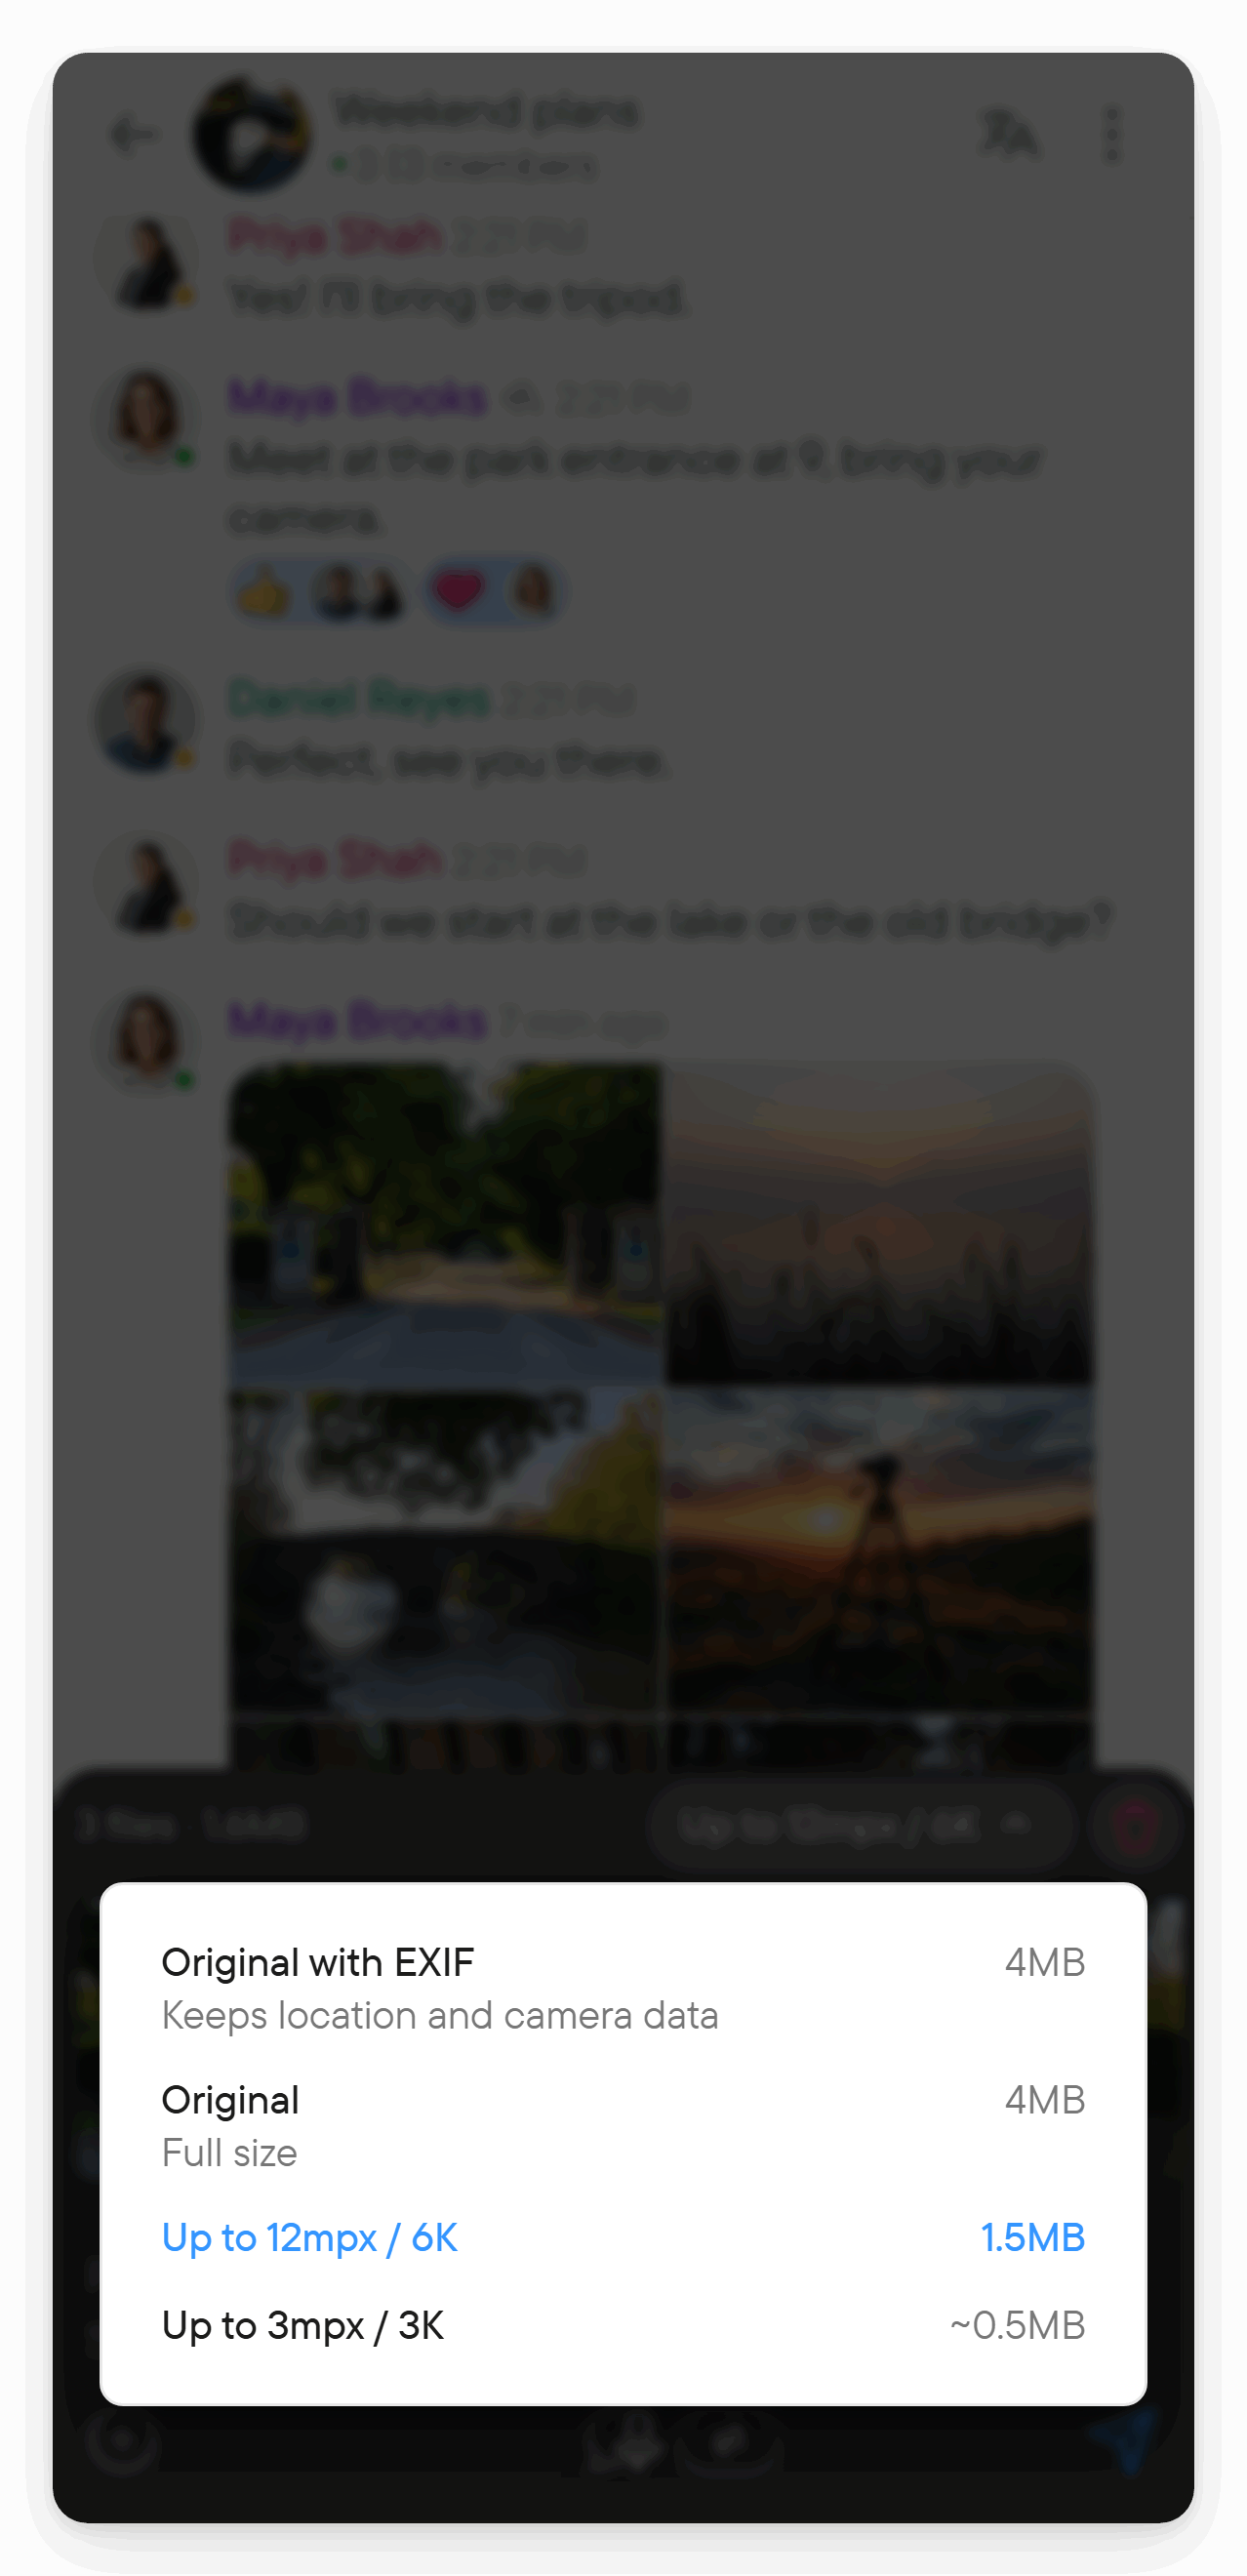
Each option shows the estimated total size. Other files in the same message are not changed by this choice. See media and files for attachments.
Reply, edit, copy, or forward
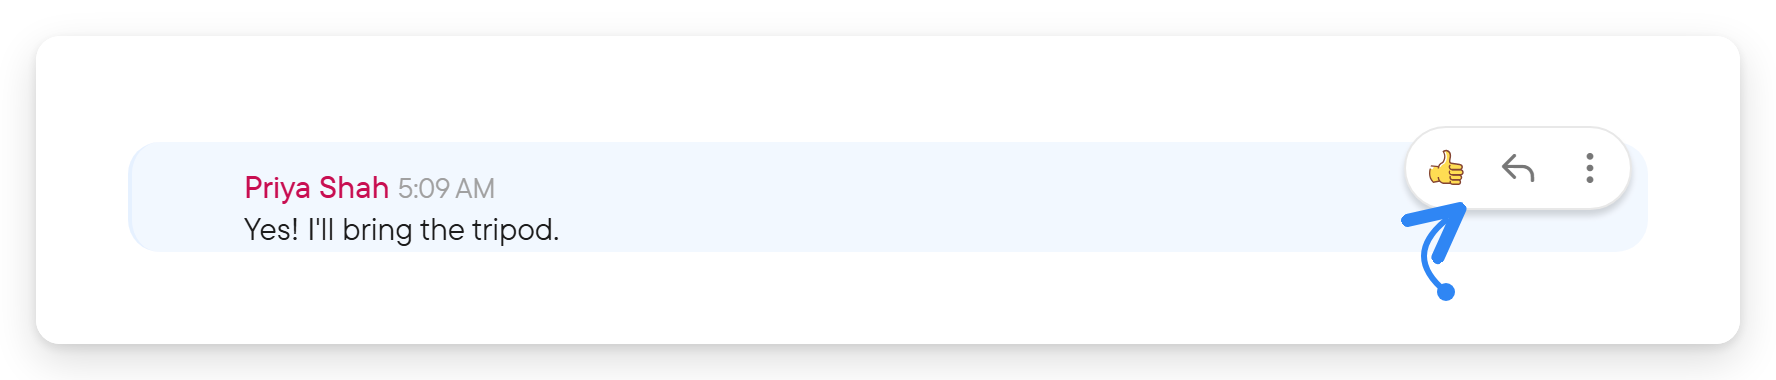
On desktop, hover over a message and select its three-dot menu. On touch devices, open the message's context menu with a long press.
| Action | What to do |
|---|---|
| Reply | Choose Reply, type your response, and send it. The reply keeps a reference to the original message. |
| Edit | Choose Edit on your own message, change the text, and submit it. Press Esc to cancel editing. |
| Quote | Select part of a message's text, open its menu and choose Quote. The reply carries the quoted passage. |
| Alert all | On your own message that mentions people, choose Alert all (or the bell on the desktop hover menu) to send an attention alert to the mentioned members who have not been notified or read it yet. The bell shows a check mark once everyone has been alerted. |
| Copy text | Choose Copy text to put the message text on the clipboard. |
| Copy message link | Copy a link that opens the message for someone who has access to its chat. |
| Forward | Choose Forward, then choose a destination you can write to. |
| Delete message | Choose Delete message and review the confirmation. Availability depends on authorship, chat type, and your permissions. |
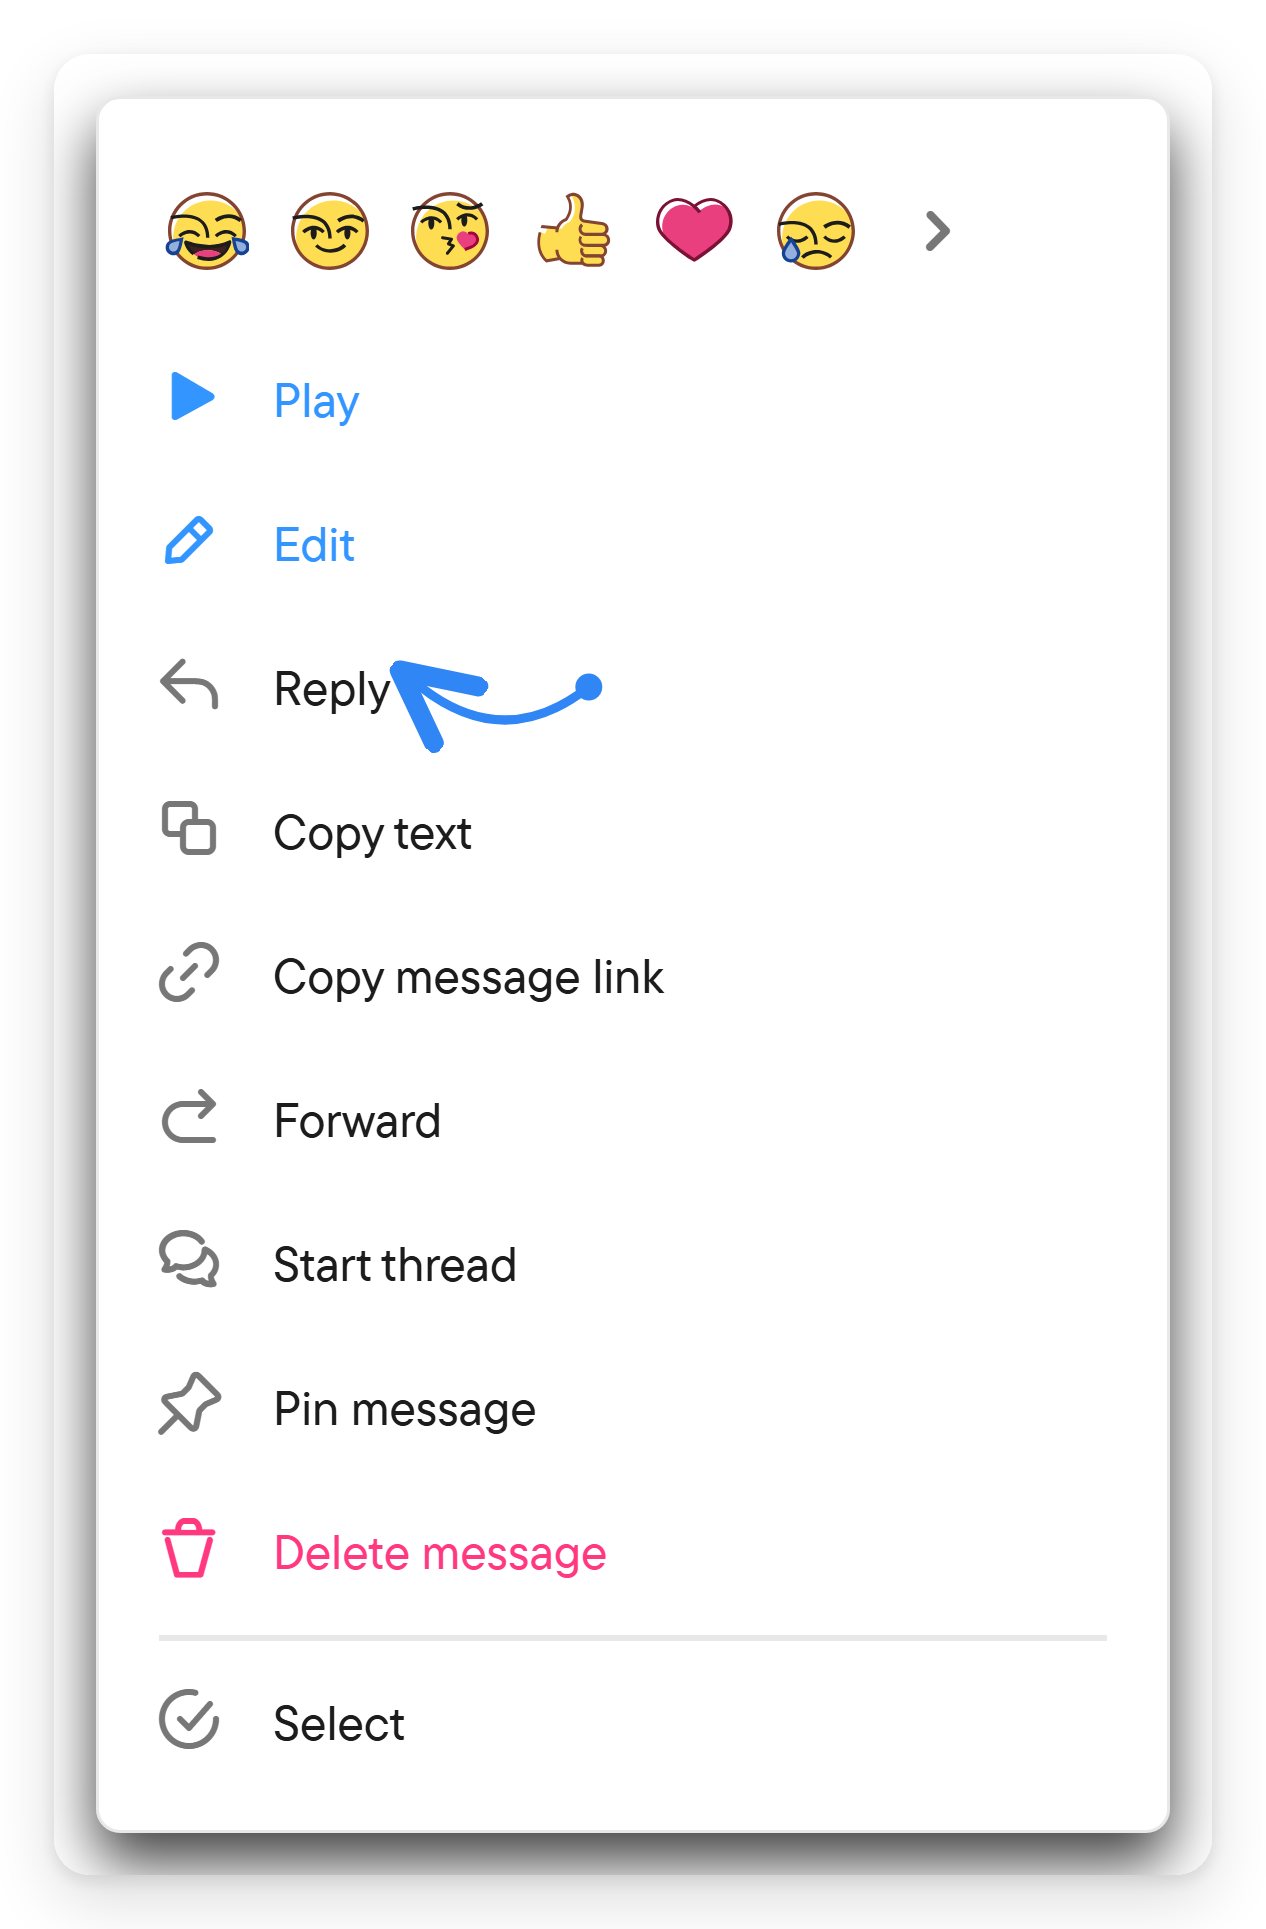
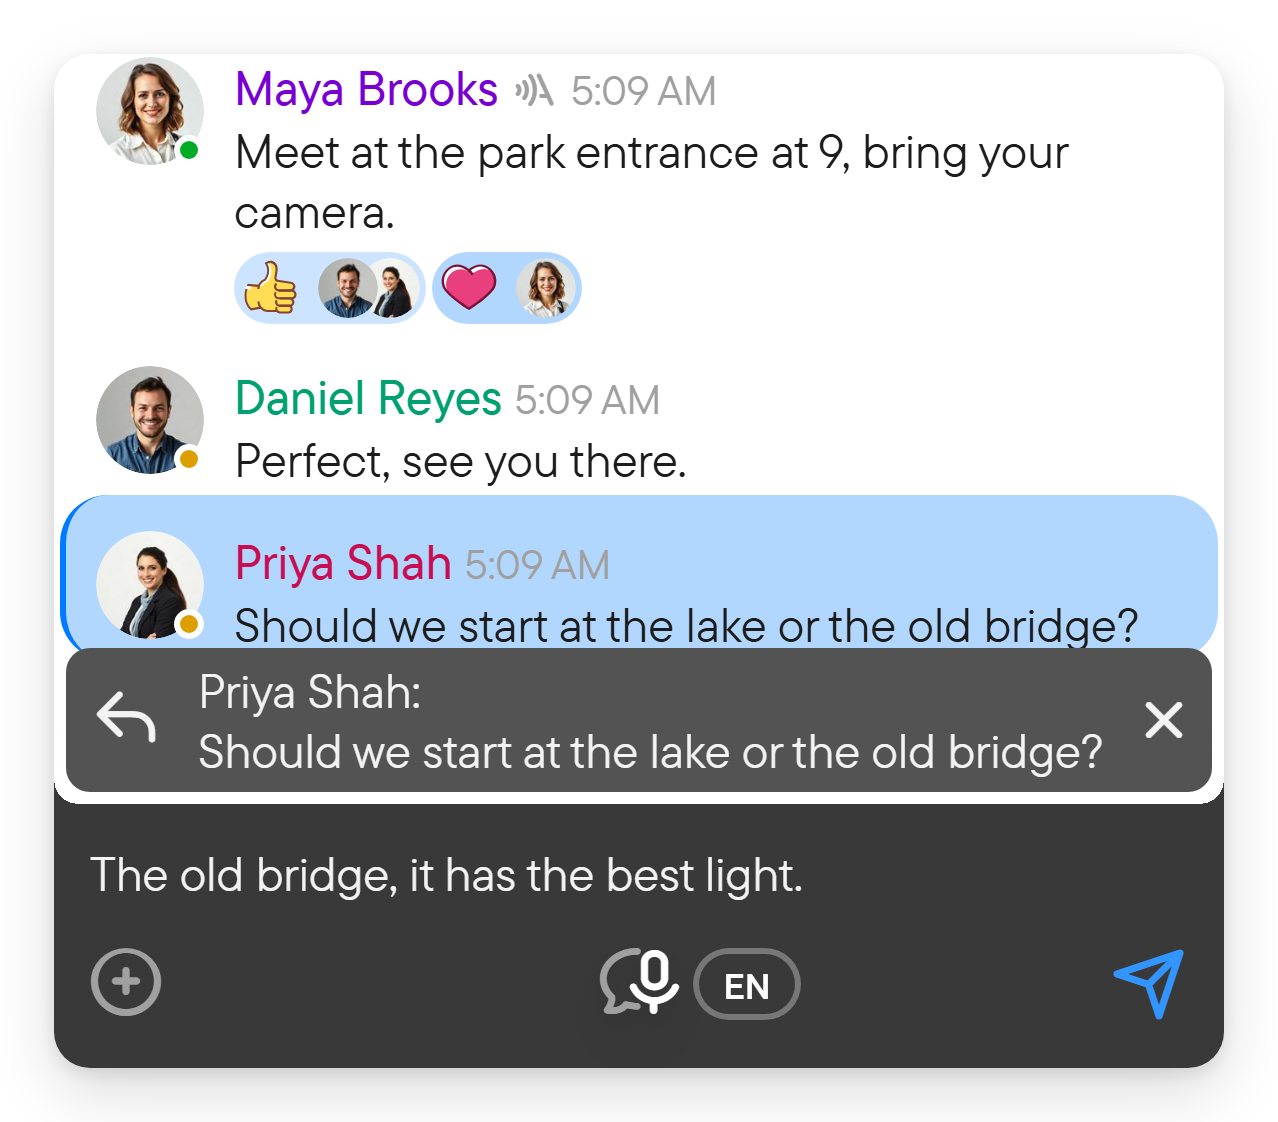
Editing is not offered for forwarded messages or messages that are still streaming. A transcript can be edited too; see voice and transcription.
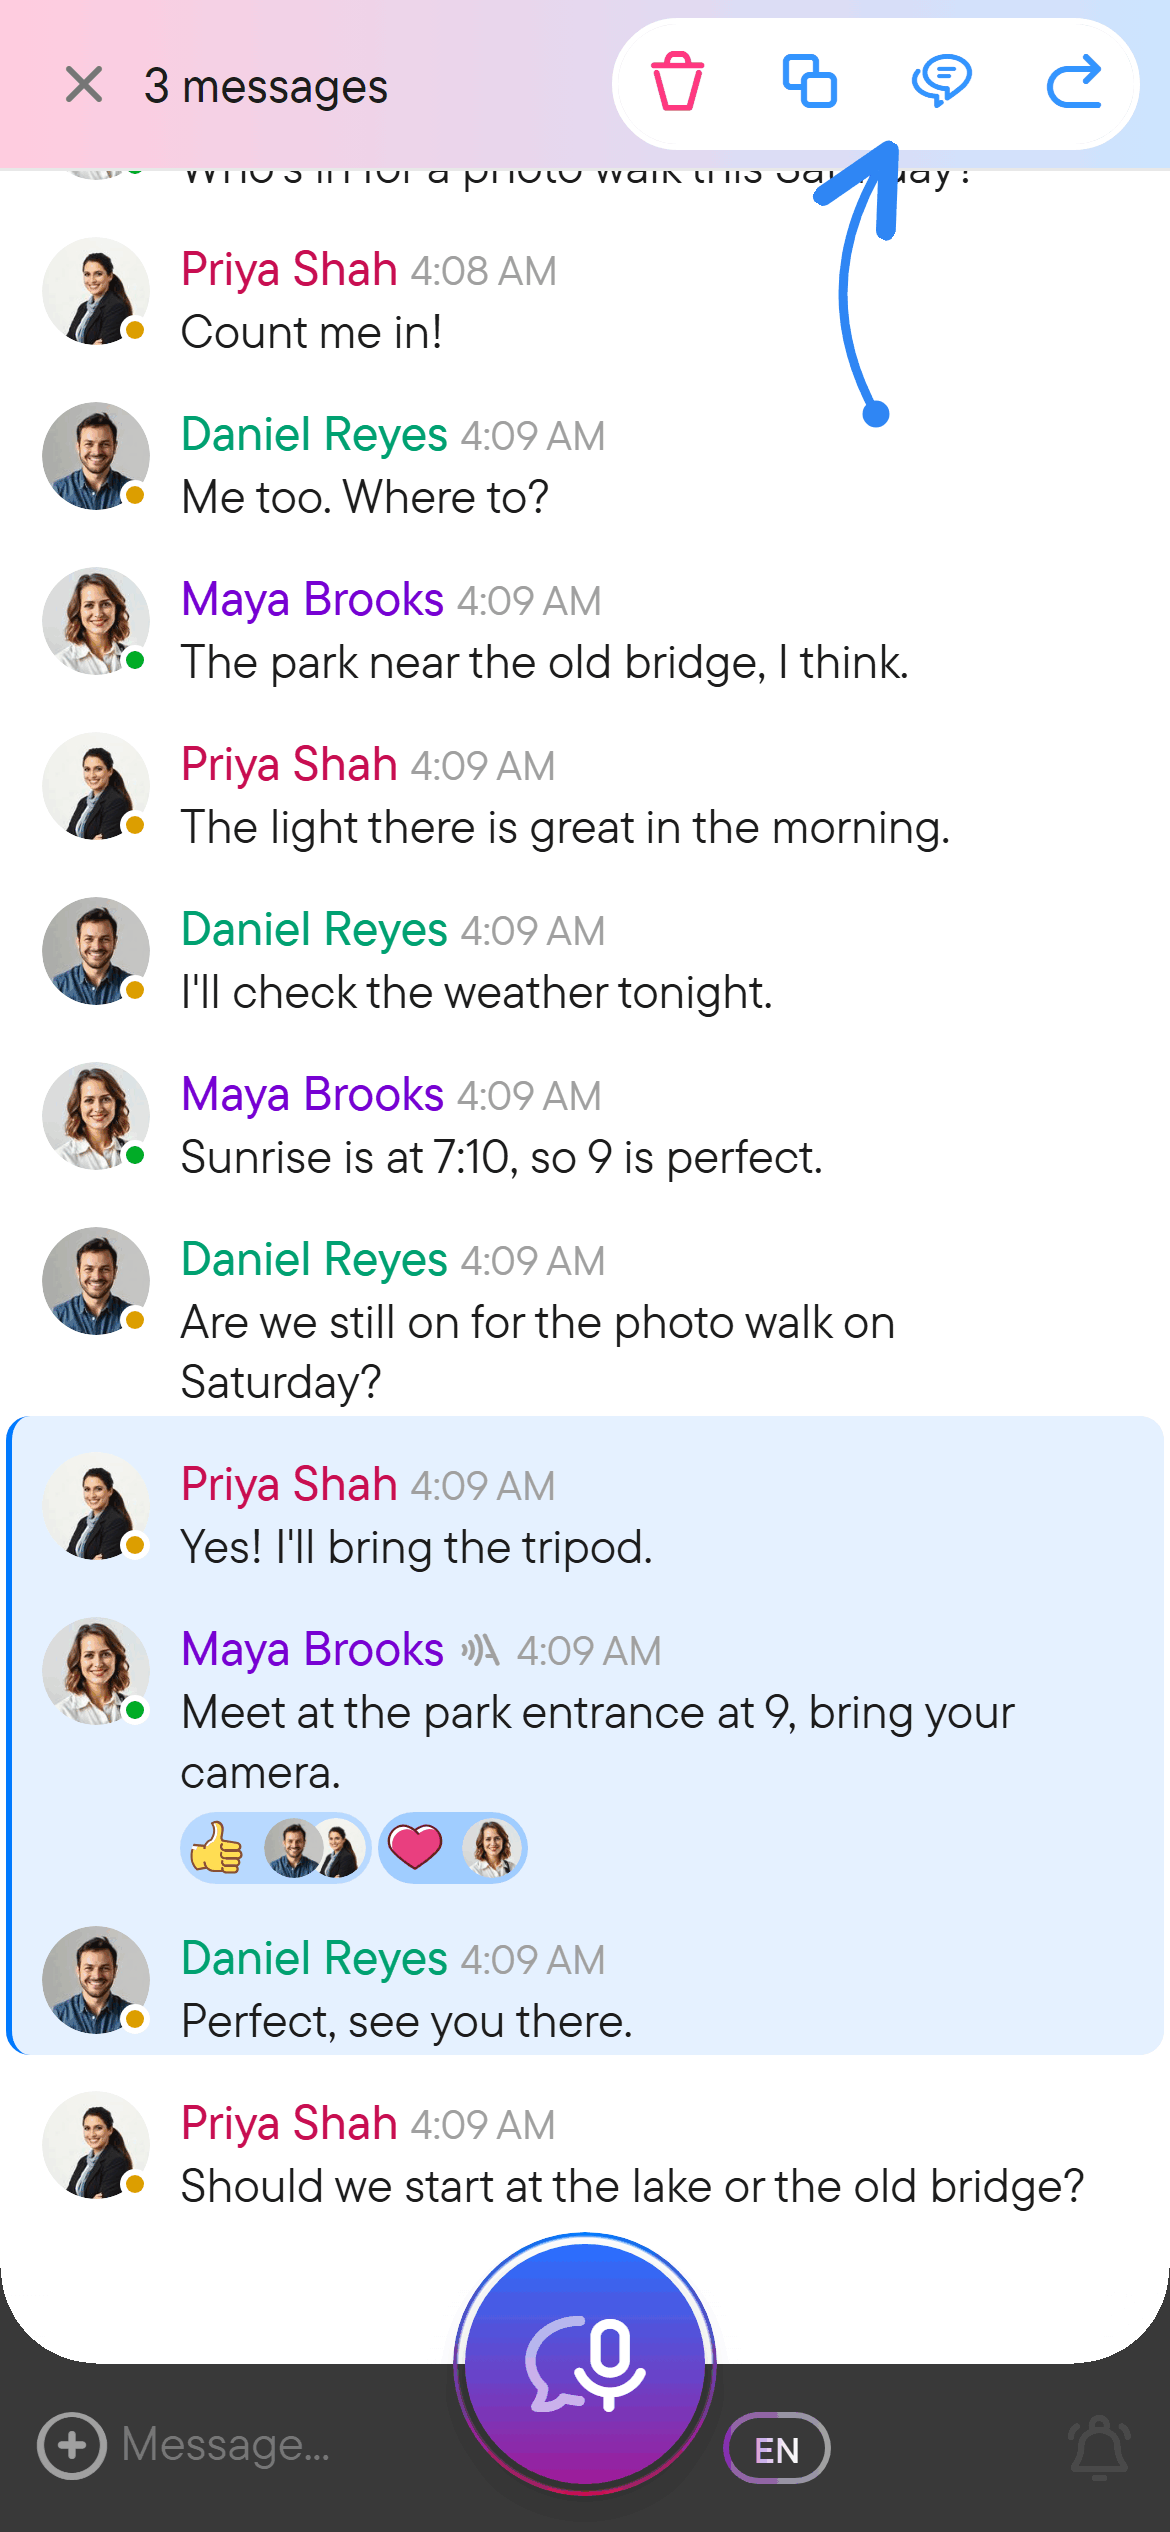
To work with several messages, choose Select in a message menu, then select additional messages. The selection actions include copying, forwarding, and starting a thread. Clear selection ends selection without deleting the messages.
React to a message
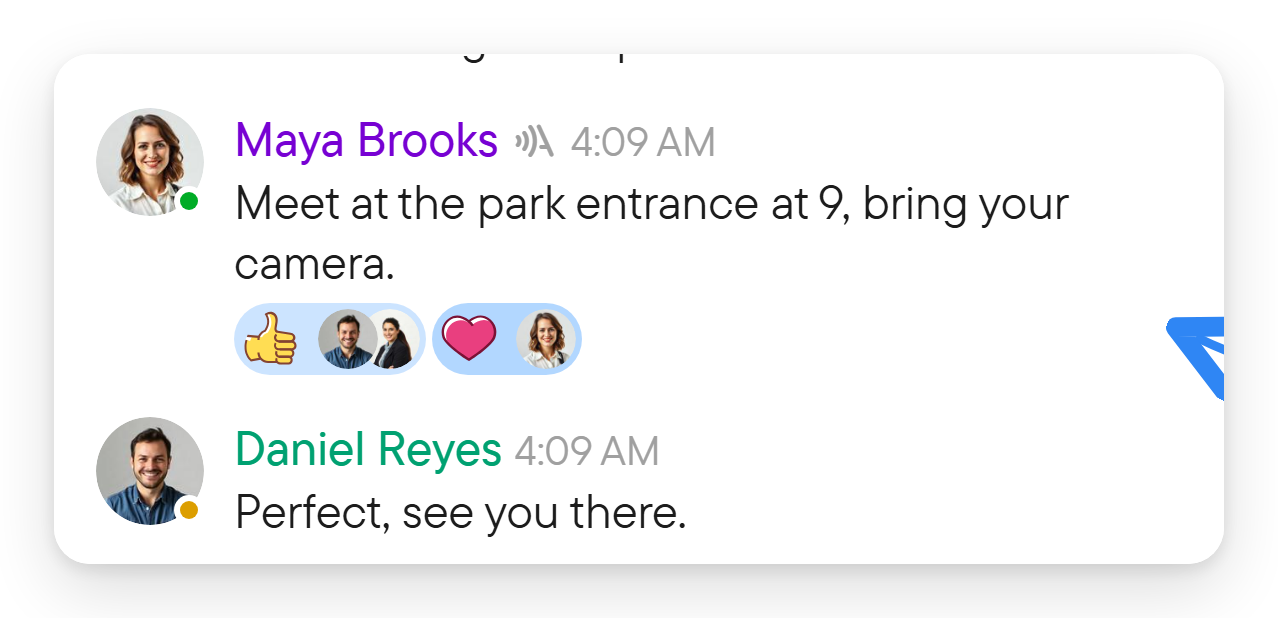
Use the reaction controls in the message menu to choose an emoji. The desktop hover menu also offers a quick thumbs-up. Reactions let you acknowledge a message without adding a separate reply. Notifications can show reactions to your messages.
Keep an important message visible
If you have permission to pin messages, choose Pin message in its menu. The pinned-message bar gives the chat a shortcut back to important content. Choose an item to jump to it; use Unpin message when it is no longer needed.
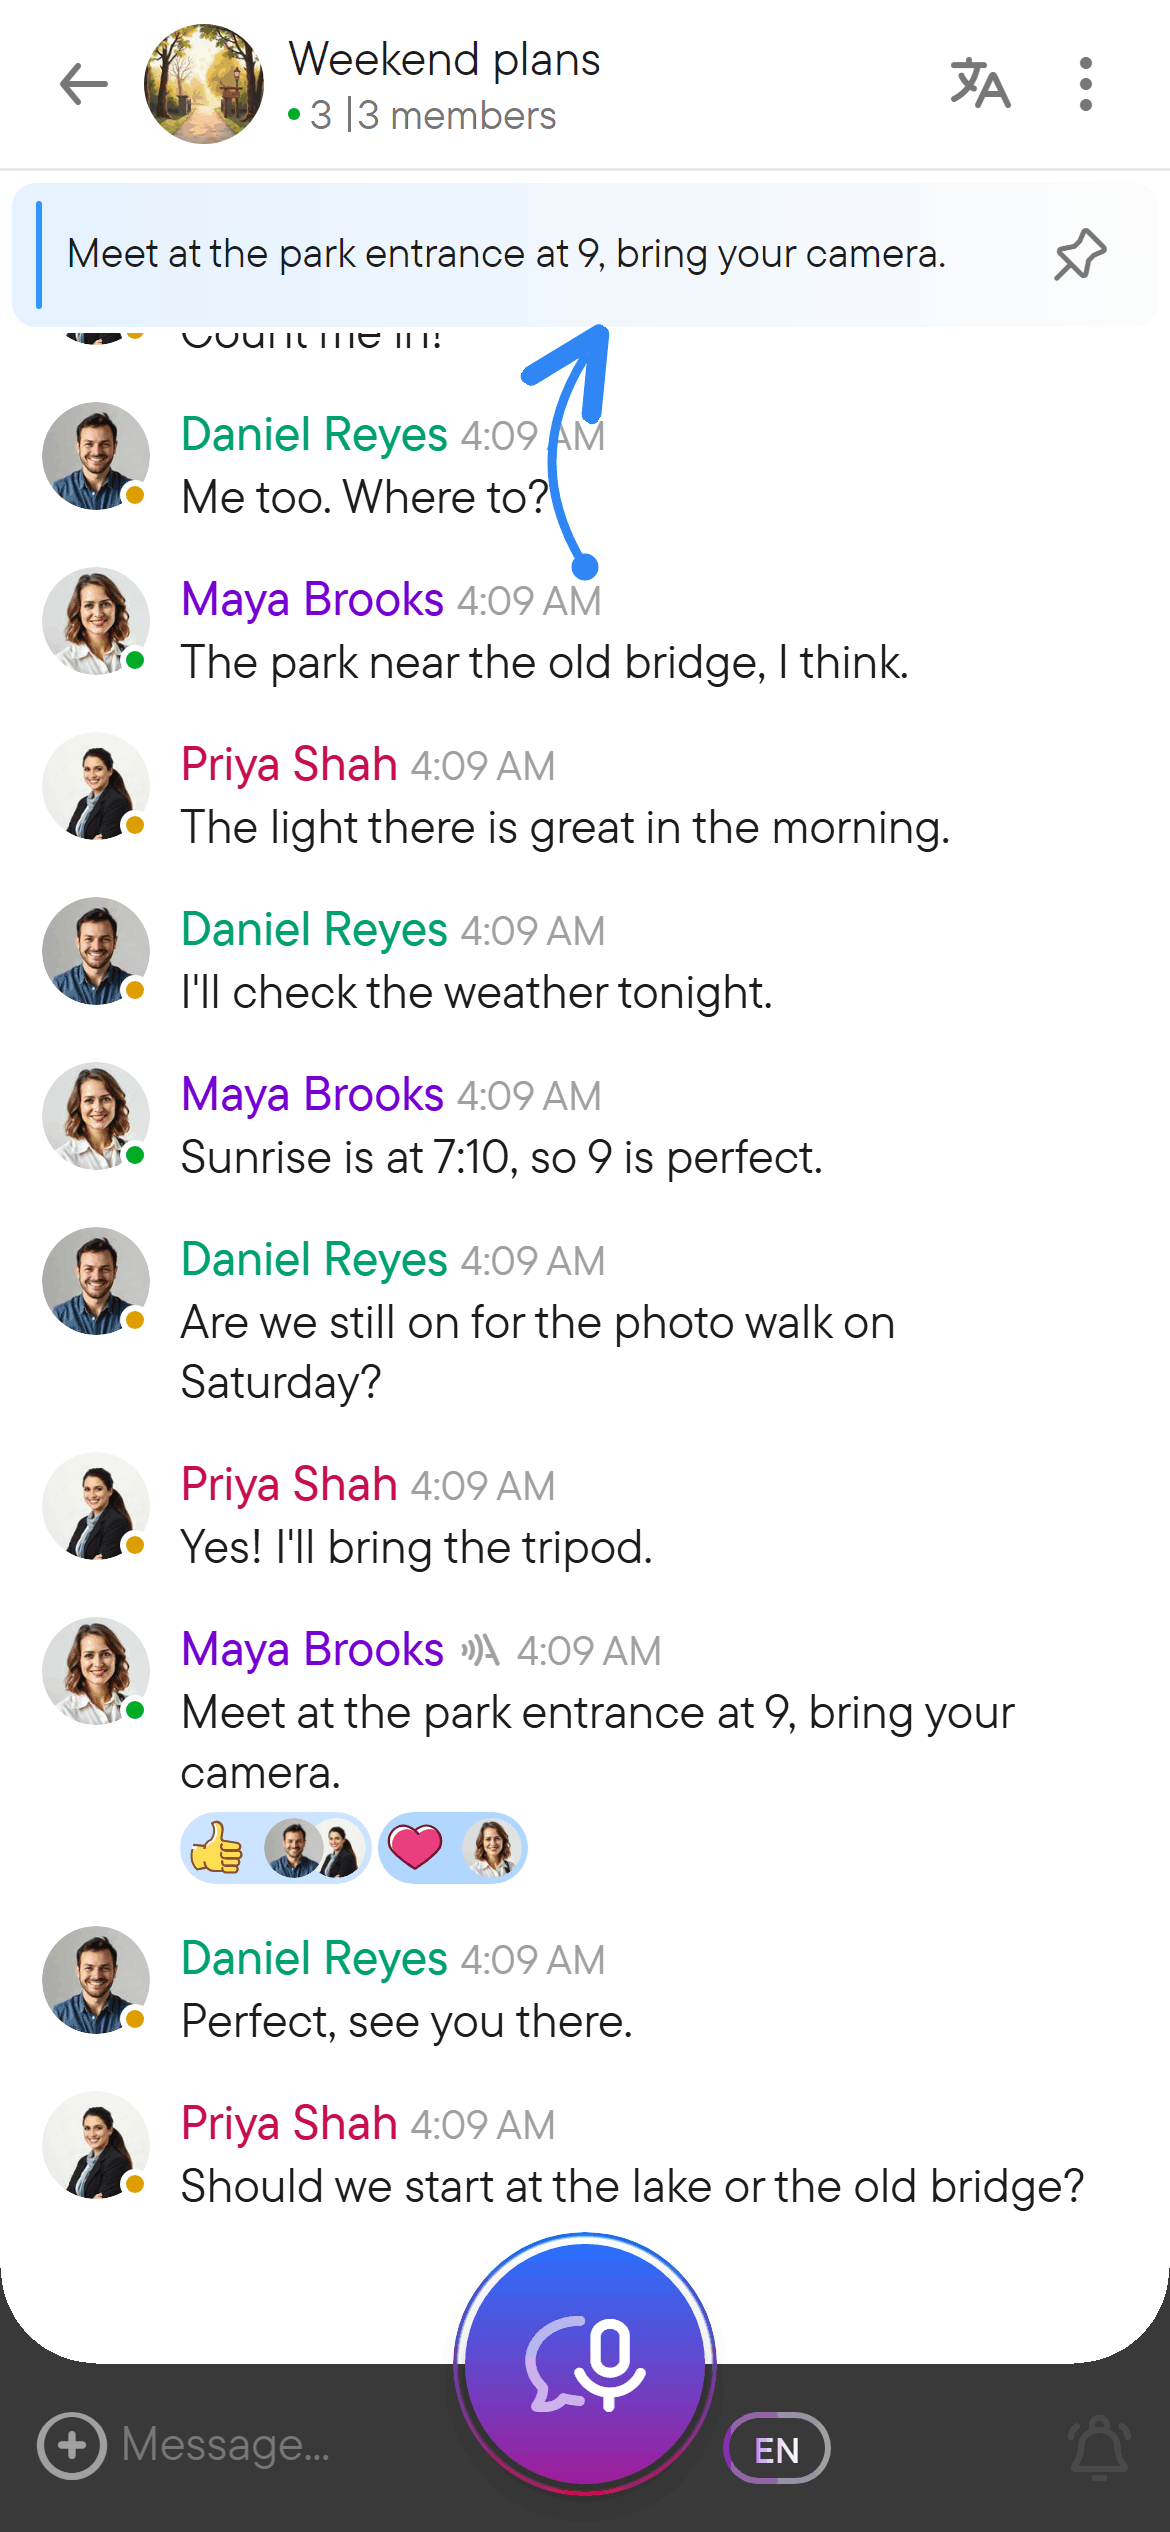
Pinning a message is different from pinning a chat in your own chat list.
Create a group
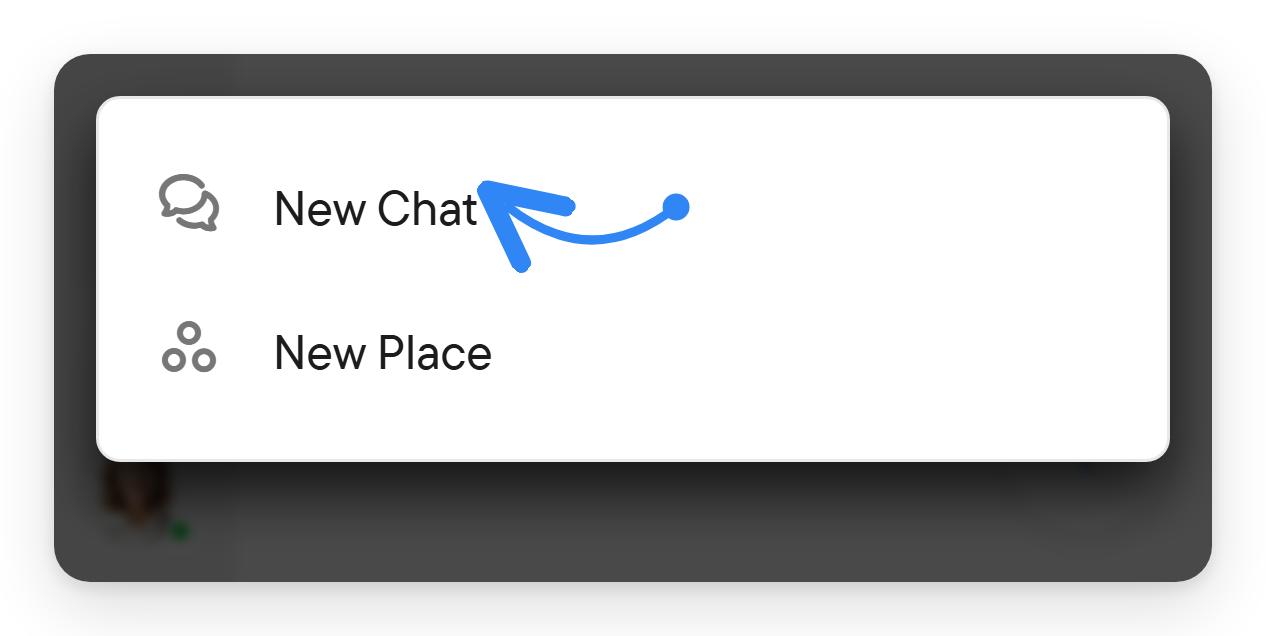
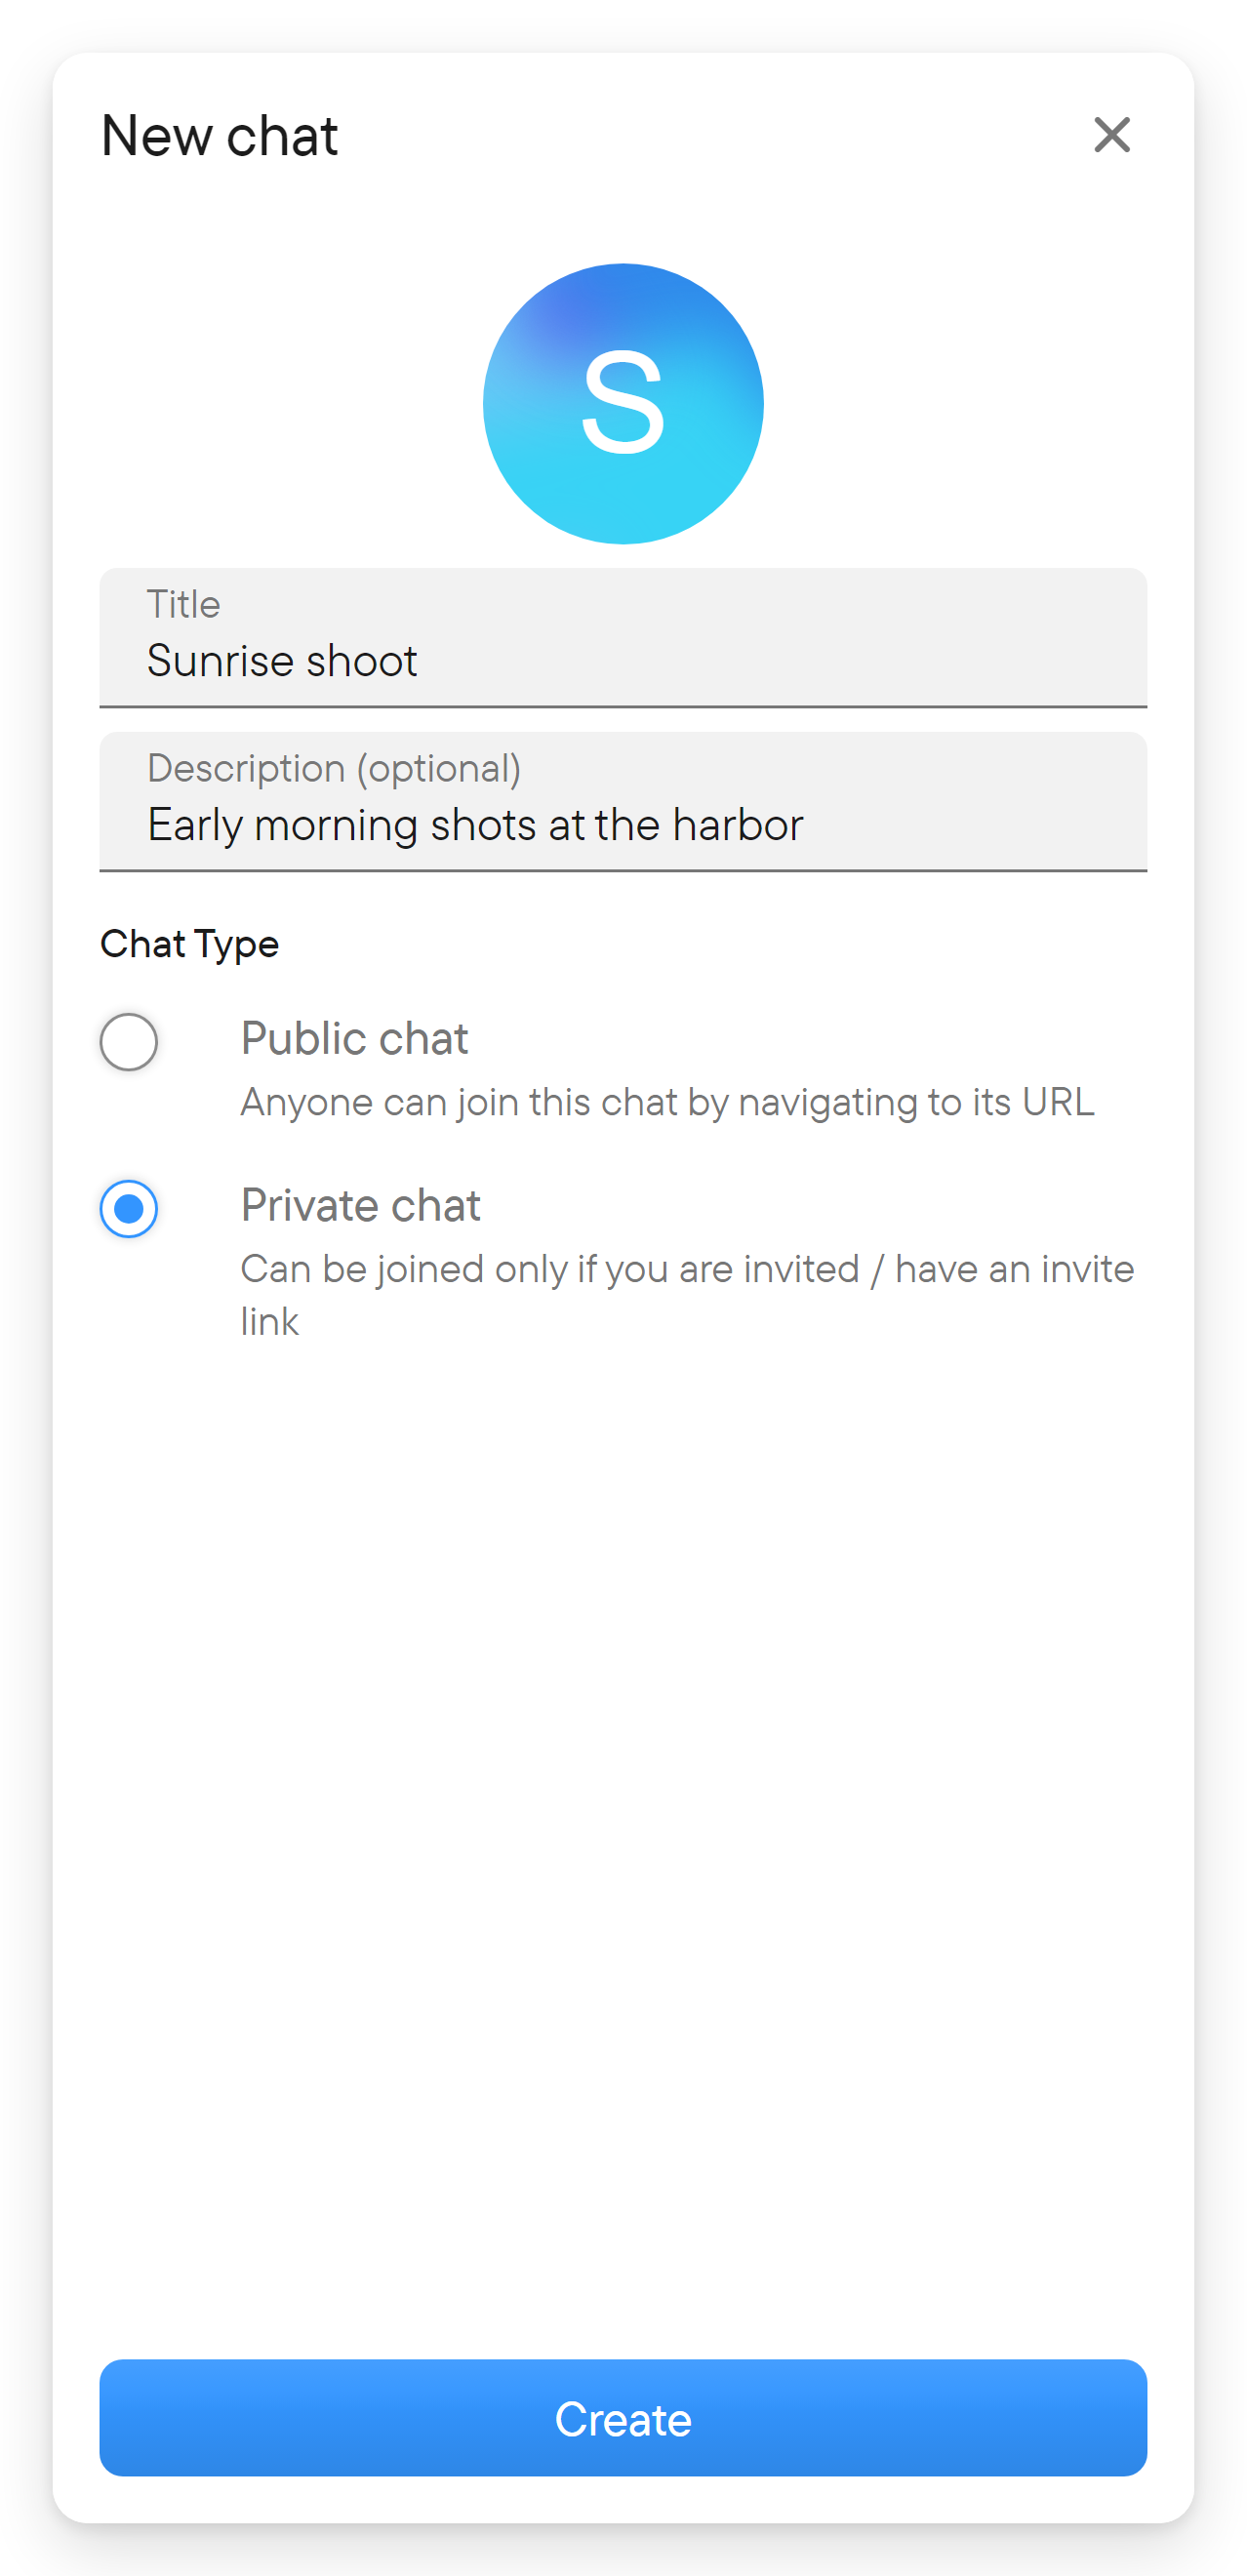
- Select the + beside the chat list and choose New Chat.
- Enter a title. Add a description and picture if useful.
- Choose Public chat or Private chat.
- Select Create.
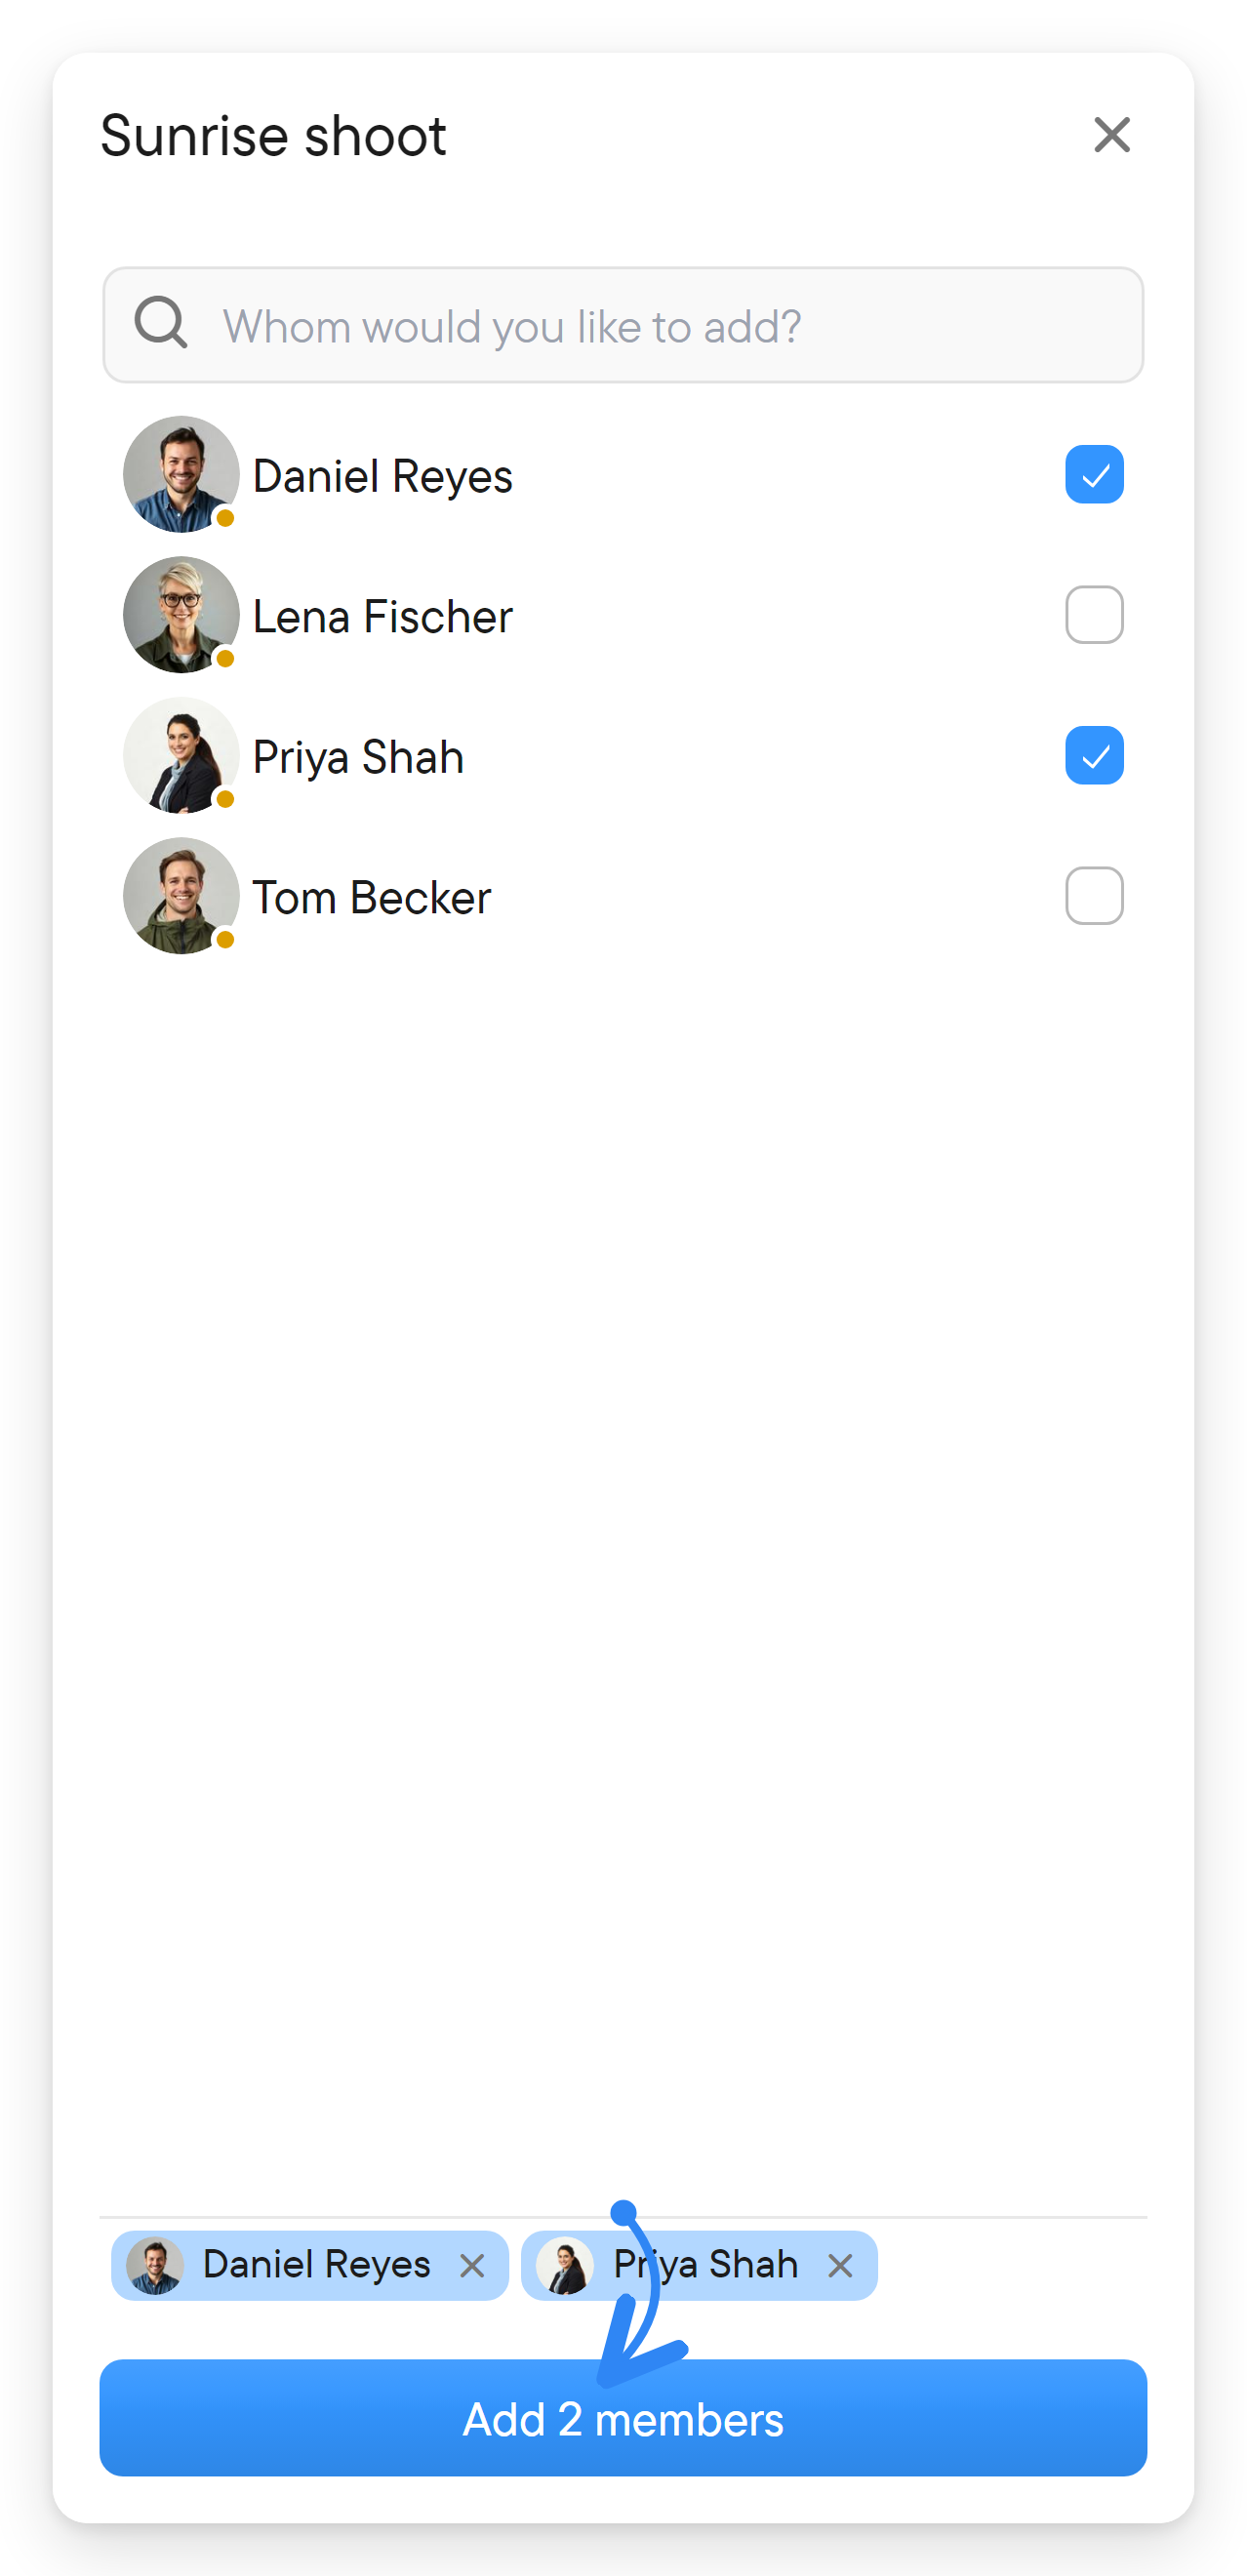
- If you already have people in your chats, a member step follows: select members and use Add members, or choose Skip to finish without adding them. If you have none yet, the dialog closes and the new chat opens right away.
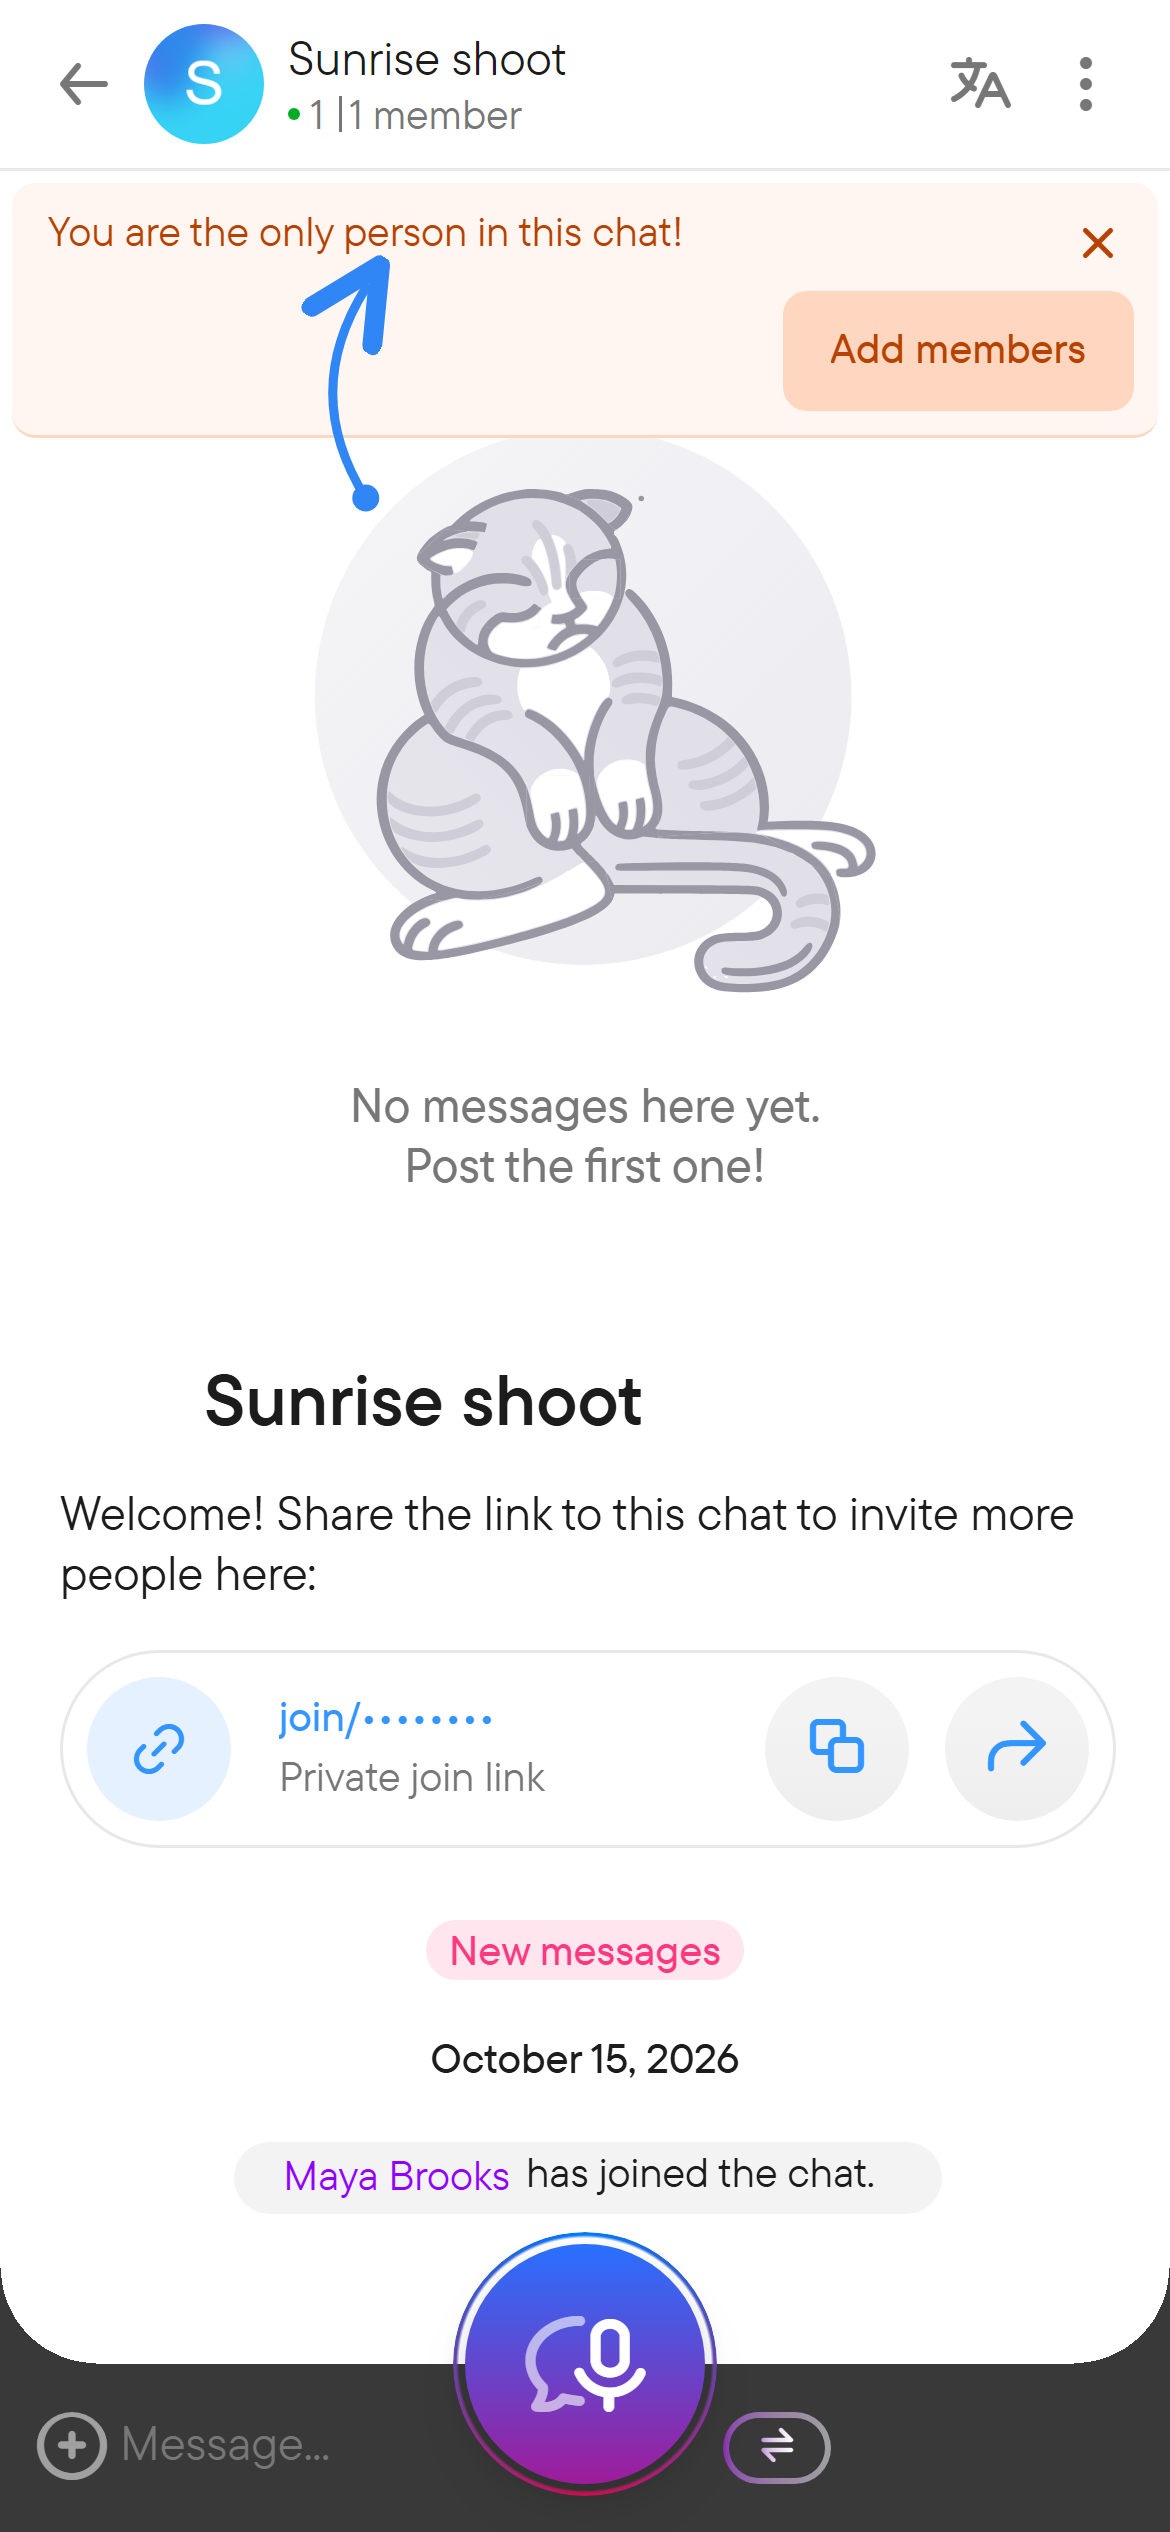
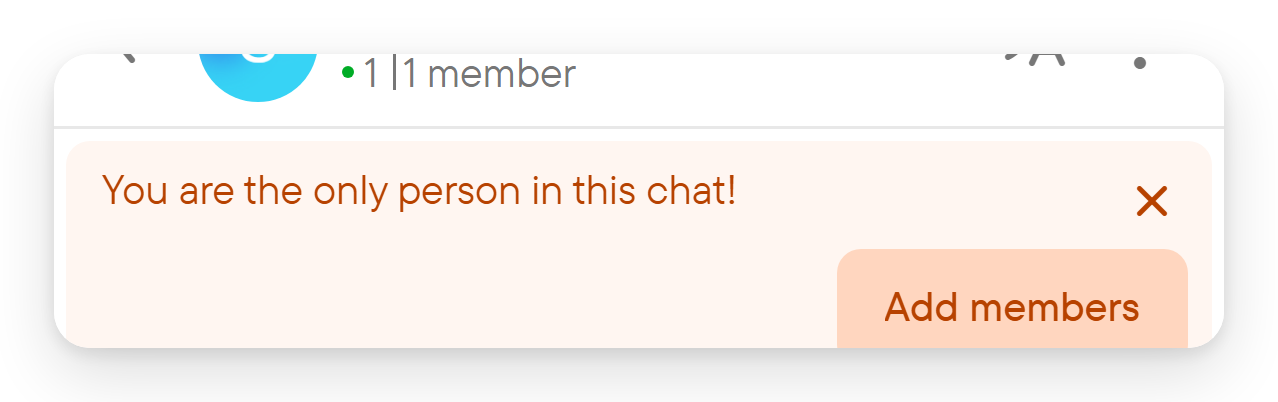
A new chat opens with a card that shows its link (a private join link for a private chat). While you are the only person in it, a banner says You are the only person in this chat! and offers Add members.
Inside a place, the available chat types reflect that place's permissions. A Place chat is visible to the place's members and allows them to talk there. A private chat inside a place has its own restricted membership.
Manage a group
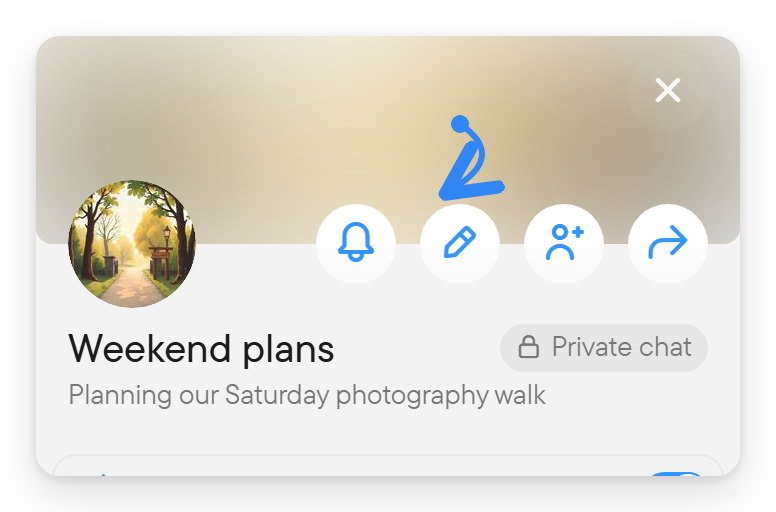
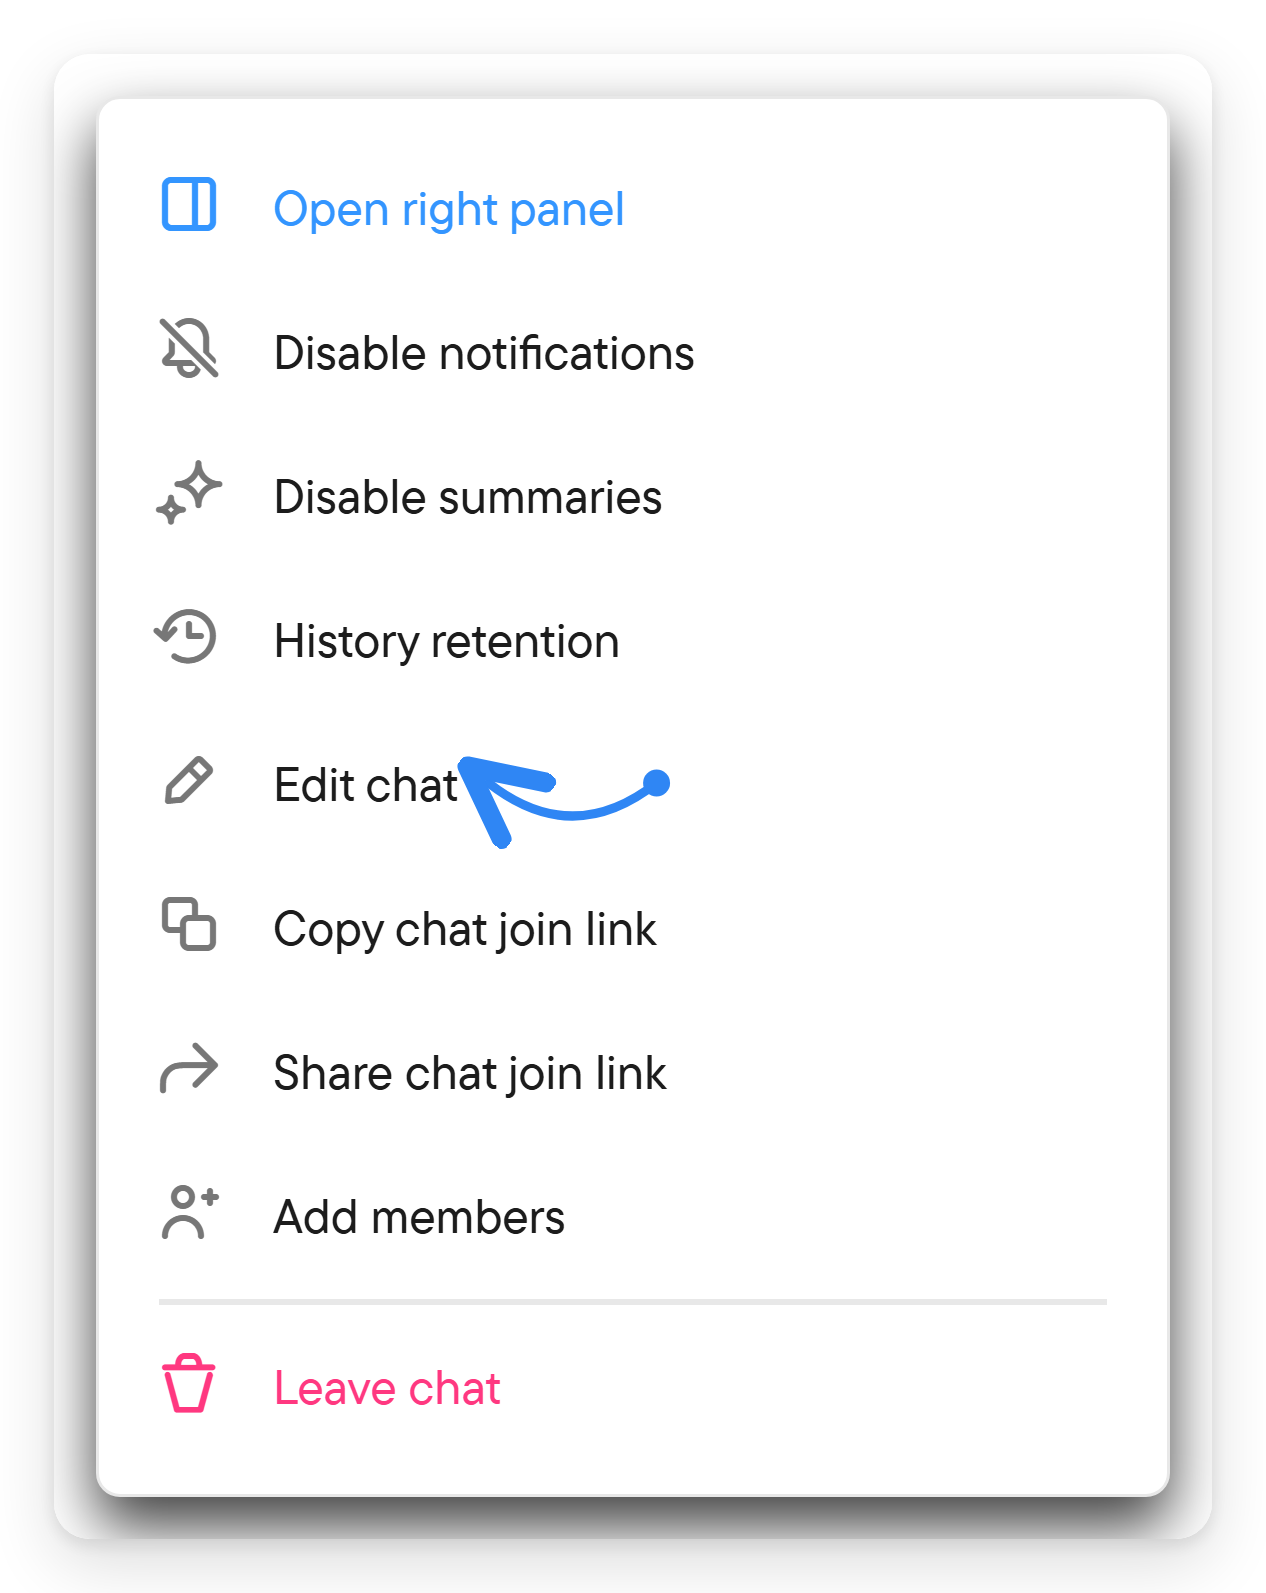
On a wide screen, open the right panel with the panel button in the chat header. Its top row has buttons for notifications, edit (the pencil), add members and share. On a narrow screen, the three-dot button in the chat header opens a menu with Edit chat and the other chat actions (see below). The controls you see depend on your role. Authorized members can edit the title and description; owners can manage the chat type. Member management can include adding/removing people, assigning a moderator, and promoting an owner.
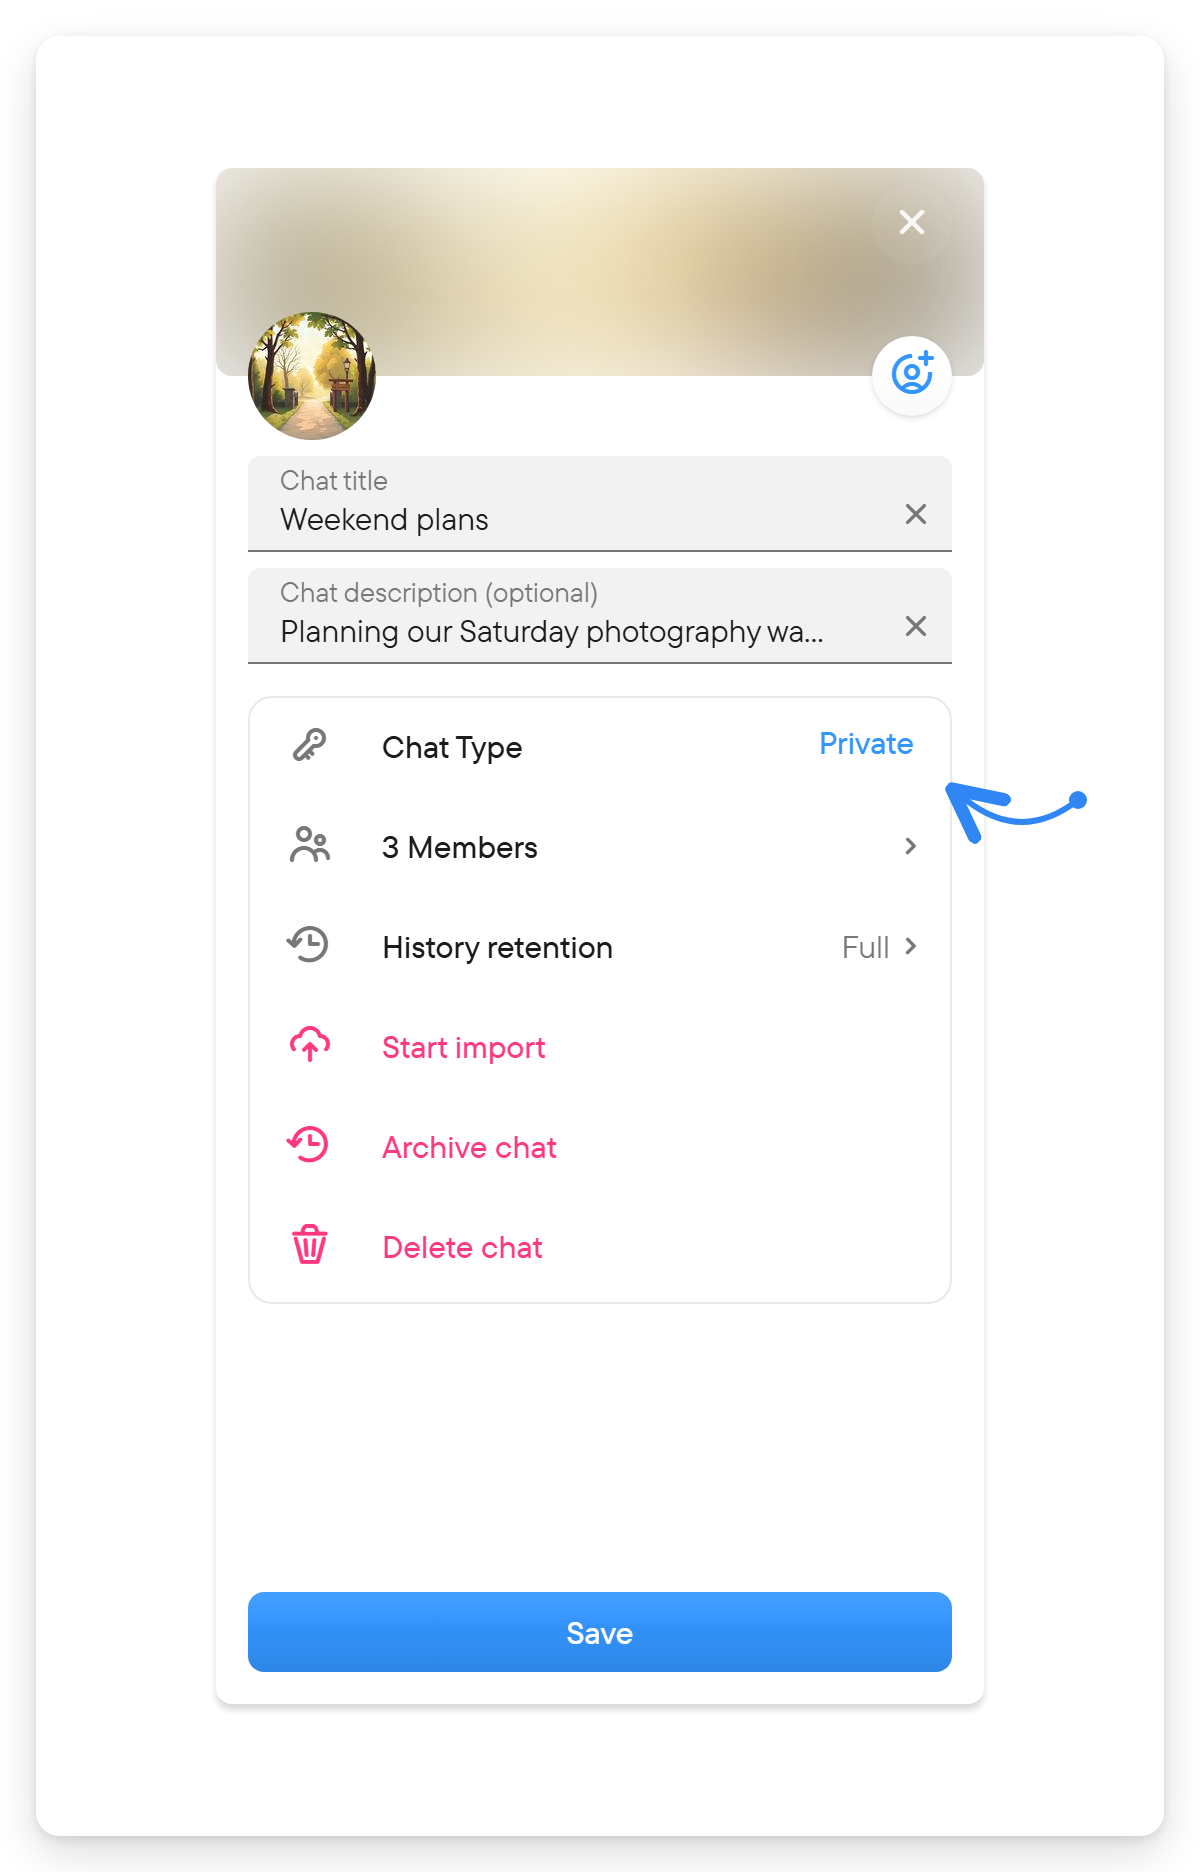
The edit dialog lists Chat Type, the member count (opens member management), History retention, Start import, Archive chat and Delete chat. Archiving asks for confirmation and warns that nobody except owners, who can still open the chat with its direct link, will be able to access it.
A group, place chat or place without a picture can show a banner to people who may edit it: I generated a picture for this chat! with Use it and Edit. Choosing the picture in chat settings opens an editor where you can also describe and generate a picture in a chosen style.
For a private chat, its type settings include private invitation links. Authorized users can create a new link or revoke an existing one. Use a public chat's public URL when you intend anyone with that URL to be able to join.
Organize your chat list
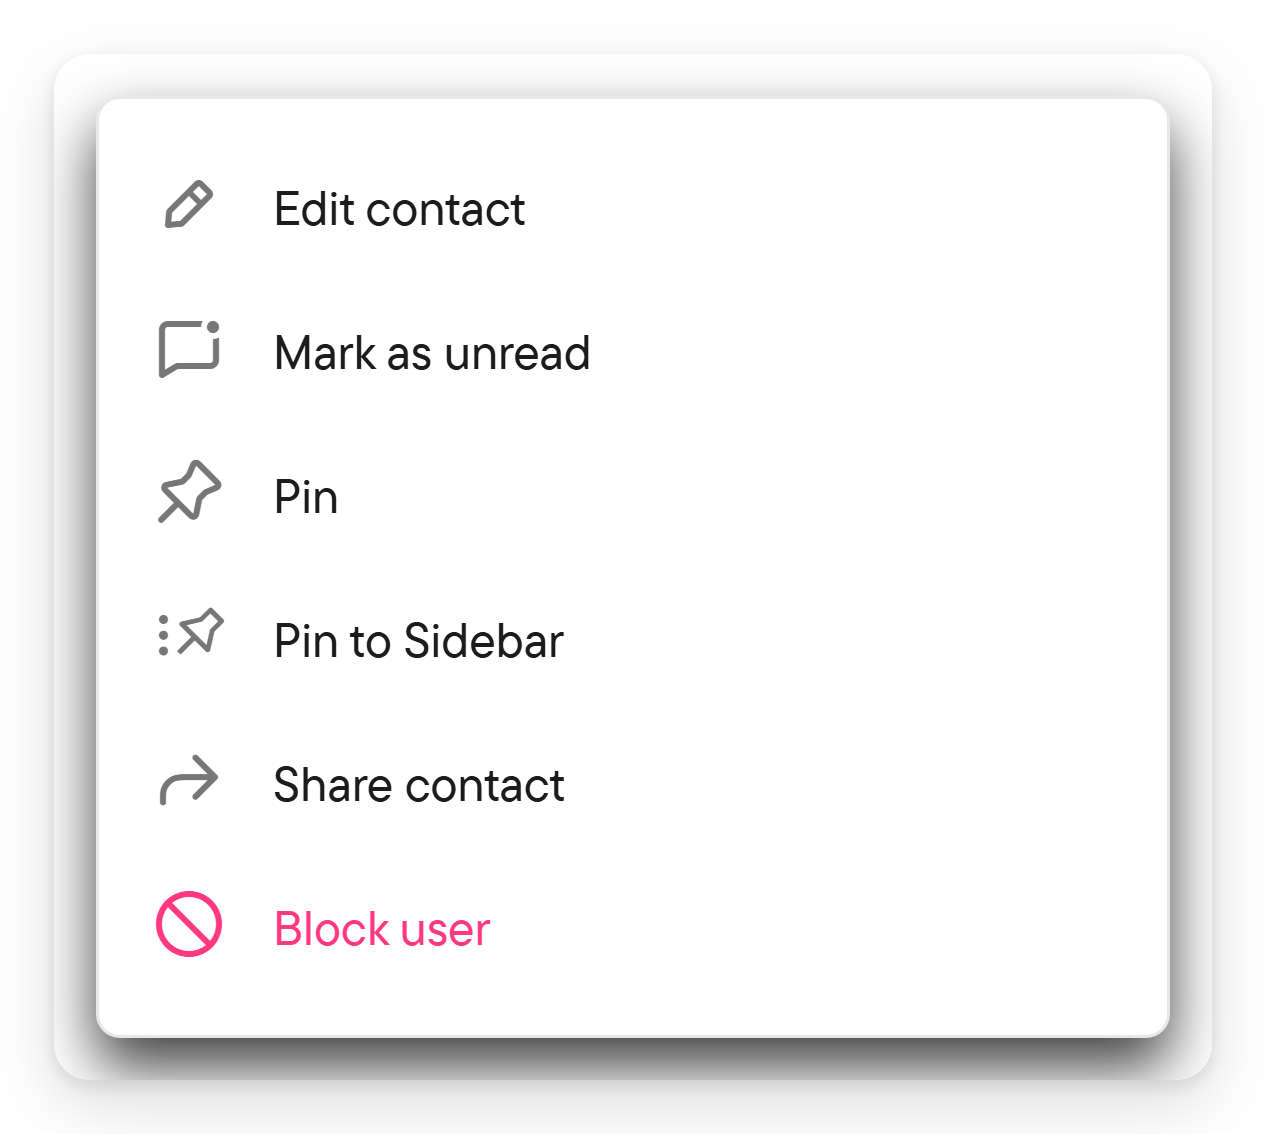
The chat menu offers Pin, Pin to Sidebar, and their corresponding unpin actions. Use a list pin for a frequent conversation and a sidebar pin for a direct navigation shortcut.
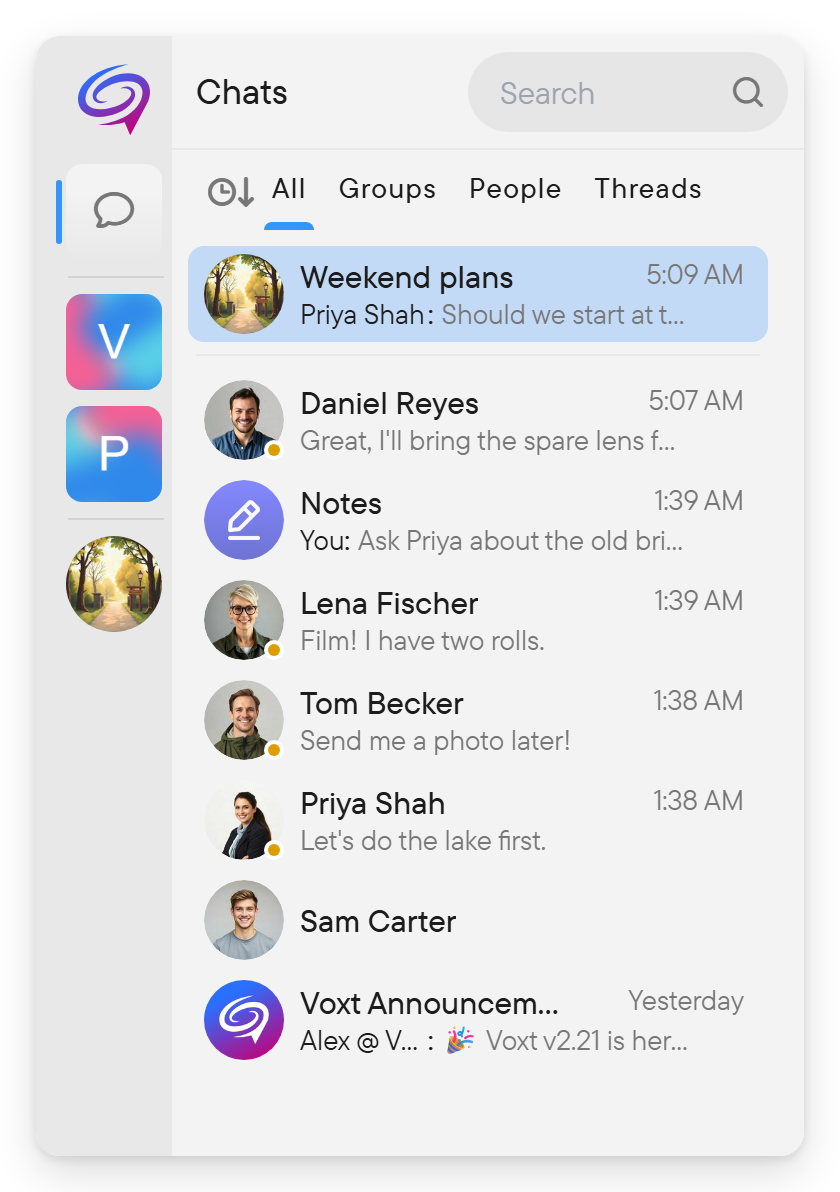
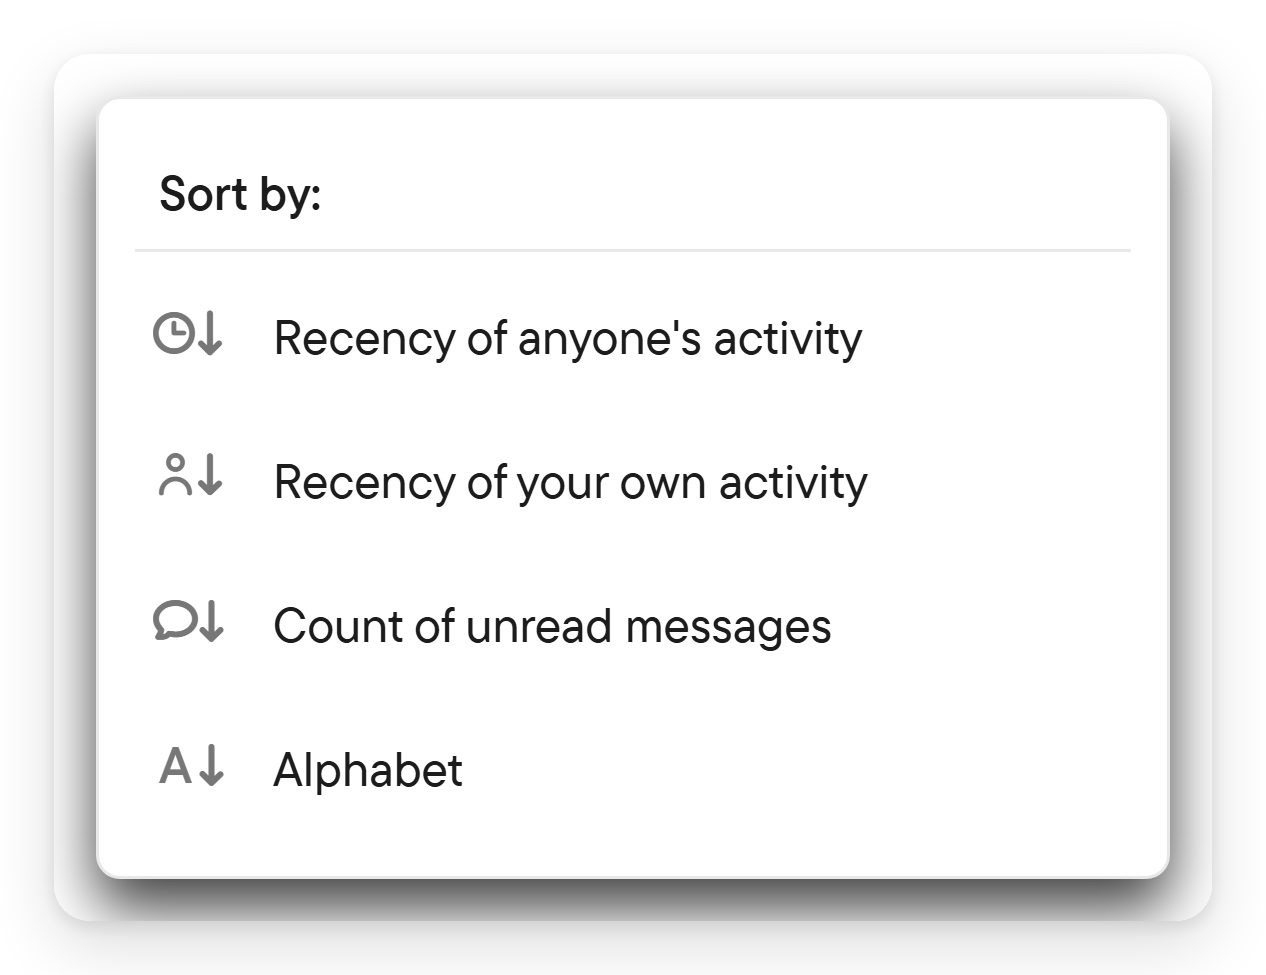
The sort control offers activity, your own activity, unread count, and alphabetical ordering. Sorting applies to the selected place's chat list.
The same menu (the three dots on a chat row, or a right-click or long press) also offers Mark as read (shown while the chat has unread activity) or Mark as unread, Share chat join link (Share chat for a public chat), Add members, and Leave chat. In a direct chat it also offers Edit contact and blocking.
The chat's own menu is the three-dot button in the chat header on a narrow screen. It offers Open right panel, Disable notifications or Enable notifications, Disable summaries or Enable summaries where you may change them, History retention, Edit chat (Edit contact in a direct chat), Copy chat link or Copy chat join link (for a private chat), Share chat join link, Add members and Leave chat. On a wide screen the same actions are in the right panel.
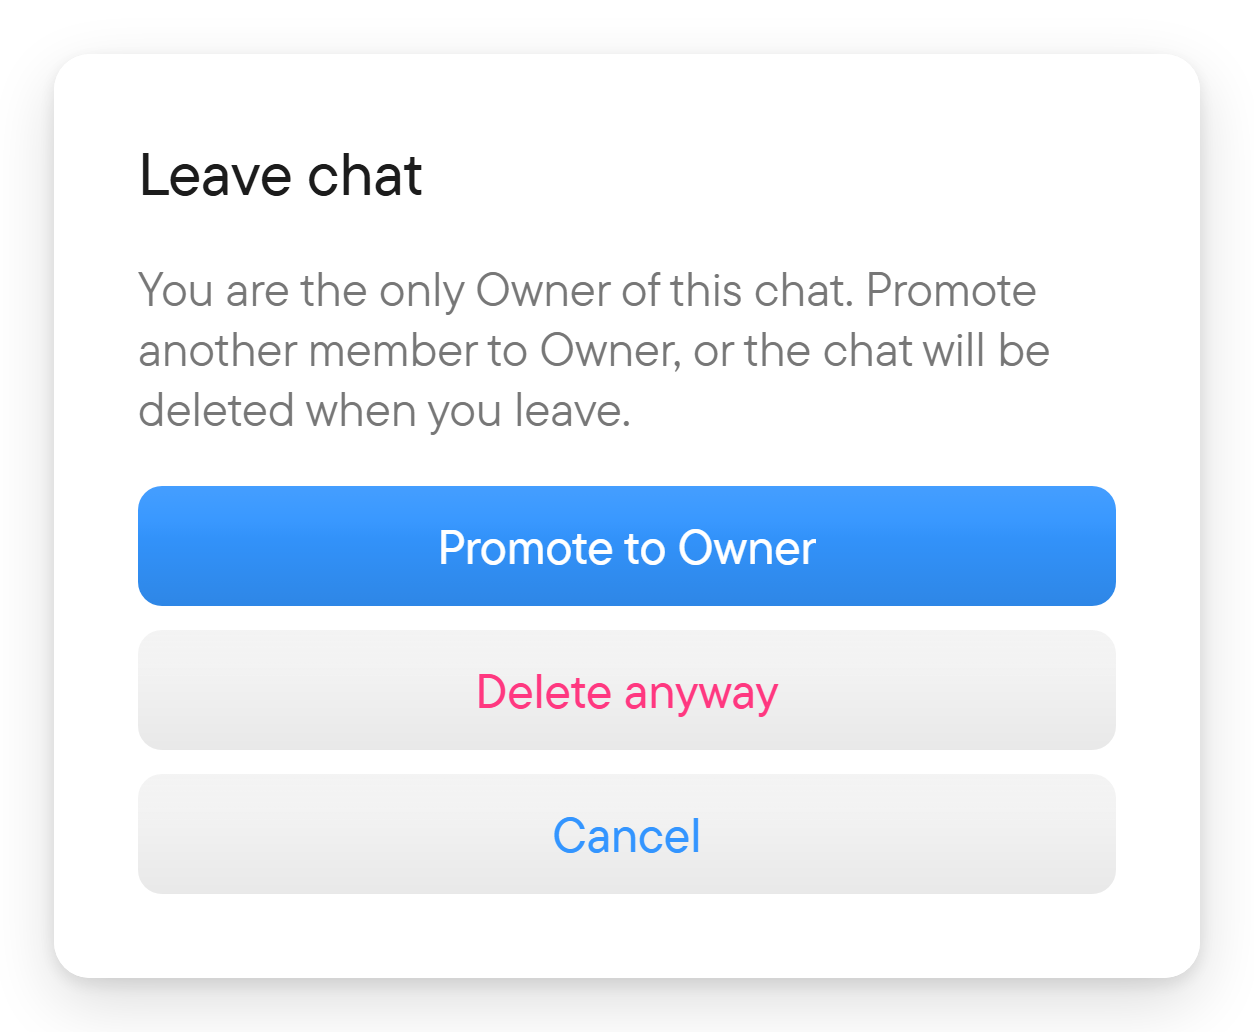
Use Leave chat to leave a group when the action is available. Remove from Active Chats only concerns that active list; it is a separate action from leaving. If you are the only owner of a chat or place, Voxt asks you to promote another member to owner first: Promote to Owner opens a Choose a new Owner list, and leaving continues after you confirm the choice. If you are the only member, Add members lets you add someone first. If you choose Delete anyway instead, the chat or place is deleted for everyone in it, and the confirmation says so. Deleting a chat, thread or place from its settings is permanent and removes its messages, media and files for everyone.
Control how long history is kept
In a chat's settings (and in the right panel's details), owners can open History retention. In a direct chat either person can. Enter a number and choose minutes, hours or days; older messages are deleted permanently for everyone, and 0 keeps the whole history. The shortest period is 10 minutes. Before you confirm, the dialog shows about how many messages would be deleted and the newest one affected, and may ask you to tick a confirmation. A note such as "set history retention to 10 minutes" or "turned off history retention" is added to the chat when retention changes; with no older messages to delete, the change applies without a confirmation step.
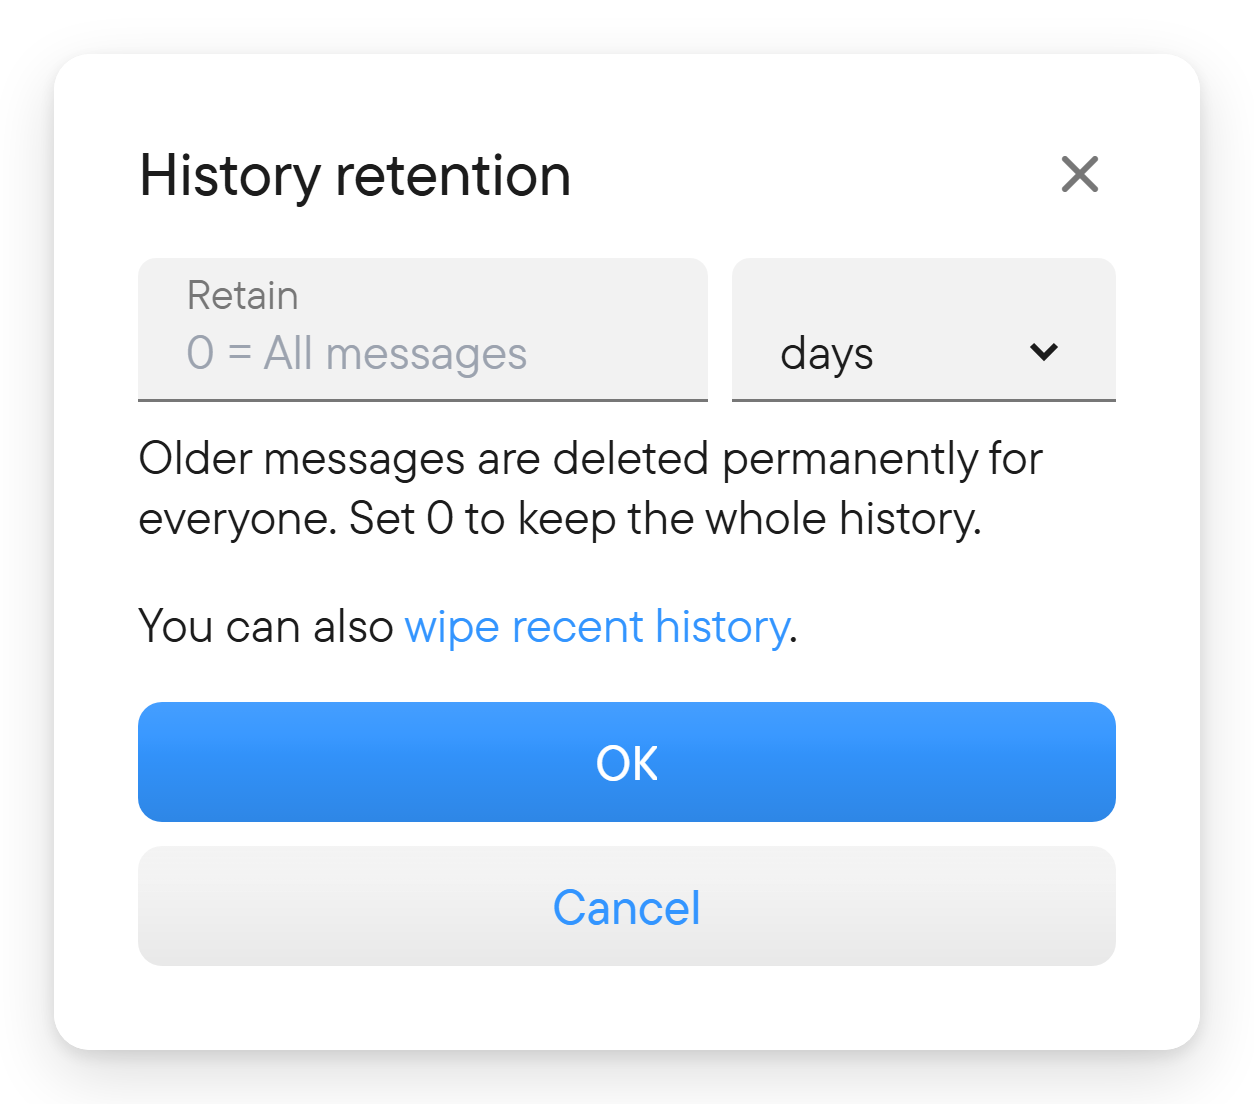
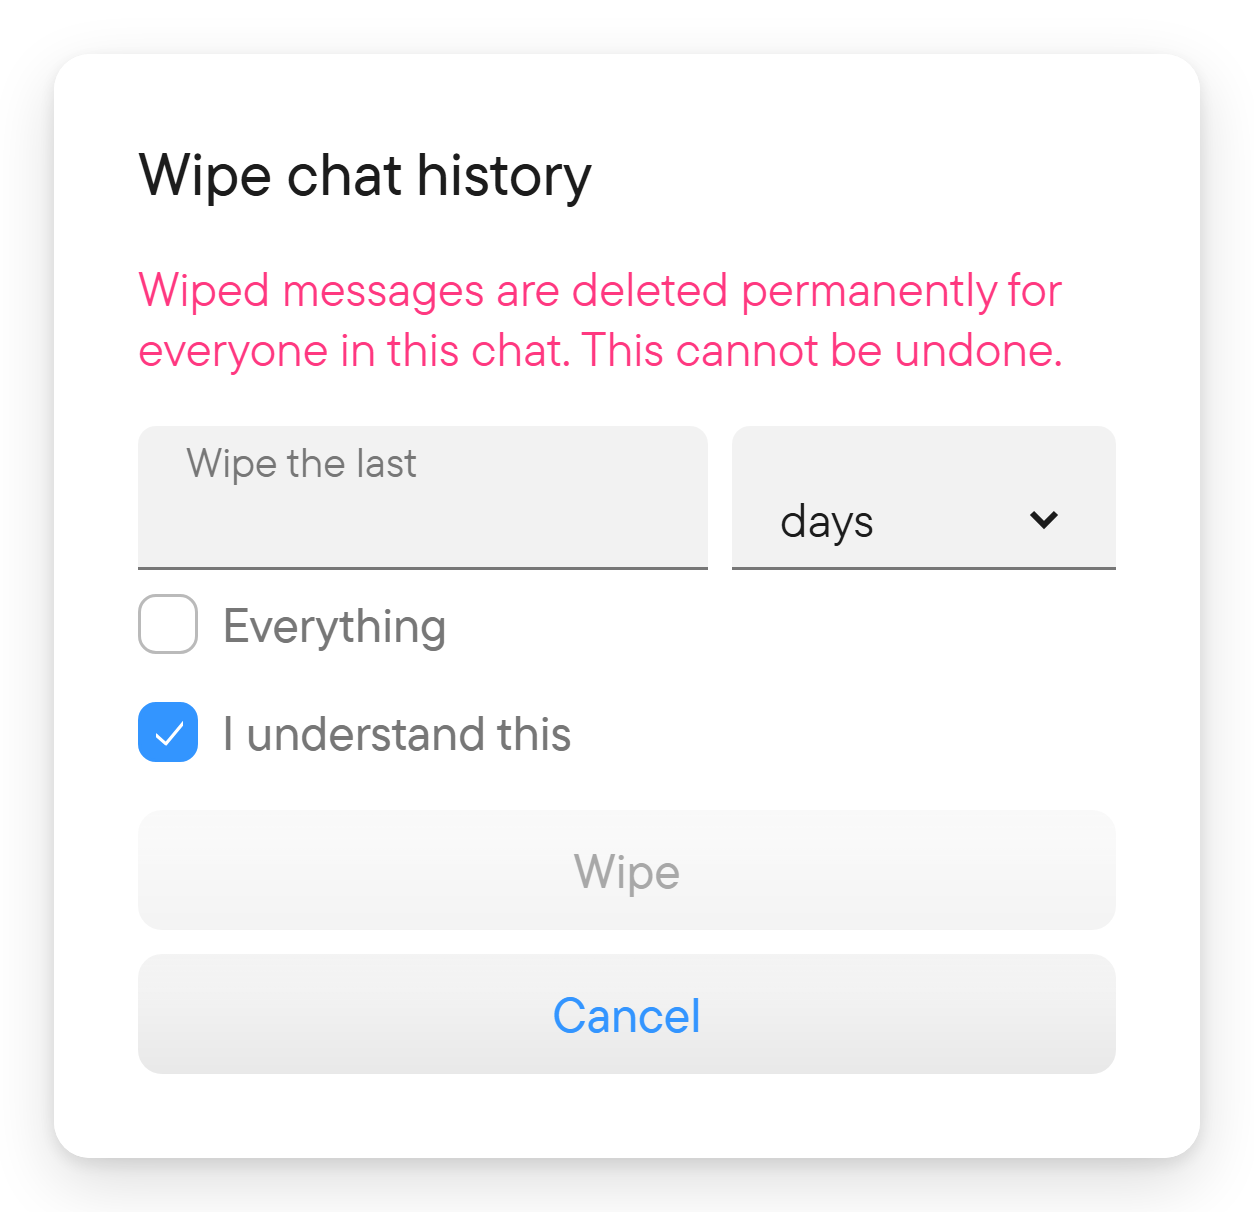
The same dialog links to wipe recent history, which deletes the last period you choose (or Everything) permanently for everyone. Enter the period and tick I understand this to enable Wipe. Wiping cannot be undone, and a note in the chat says that history was wiped.
Import a chat's history
An owner of a chat or place can choose Start import in its settings. Import mode is for adding earlier history from another source through the API, and it requires every member's consent.
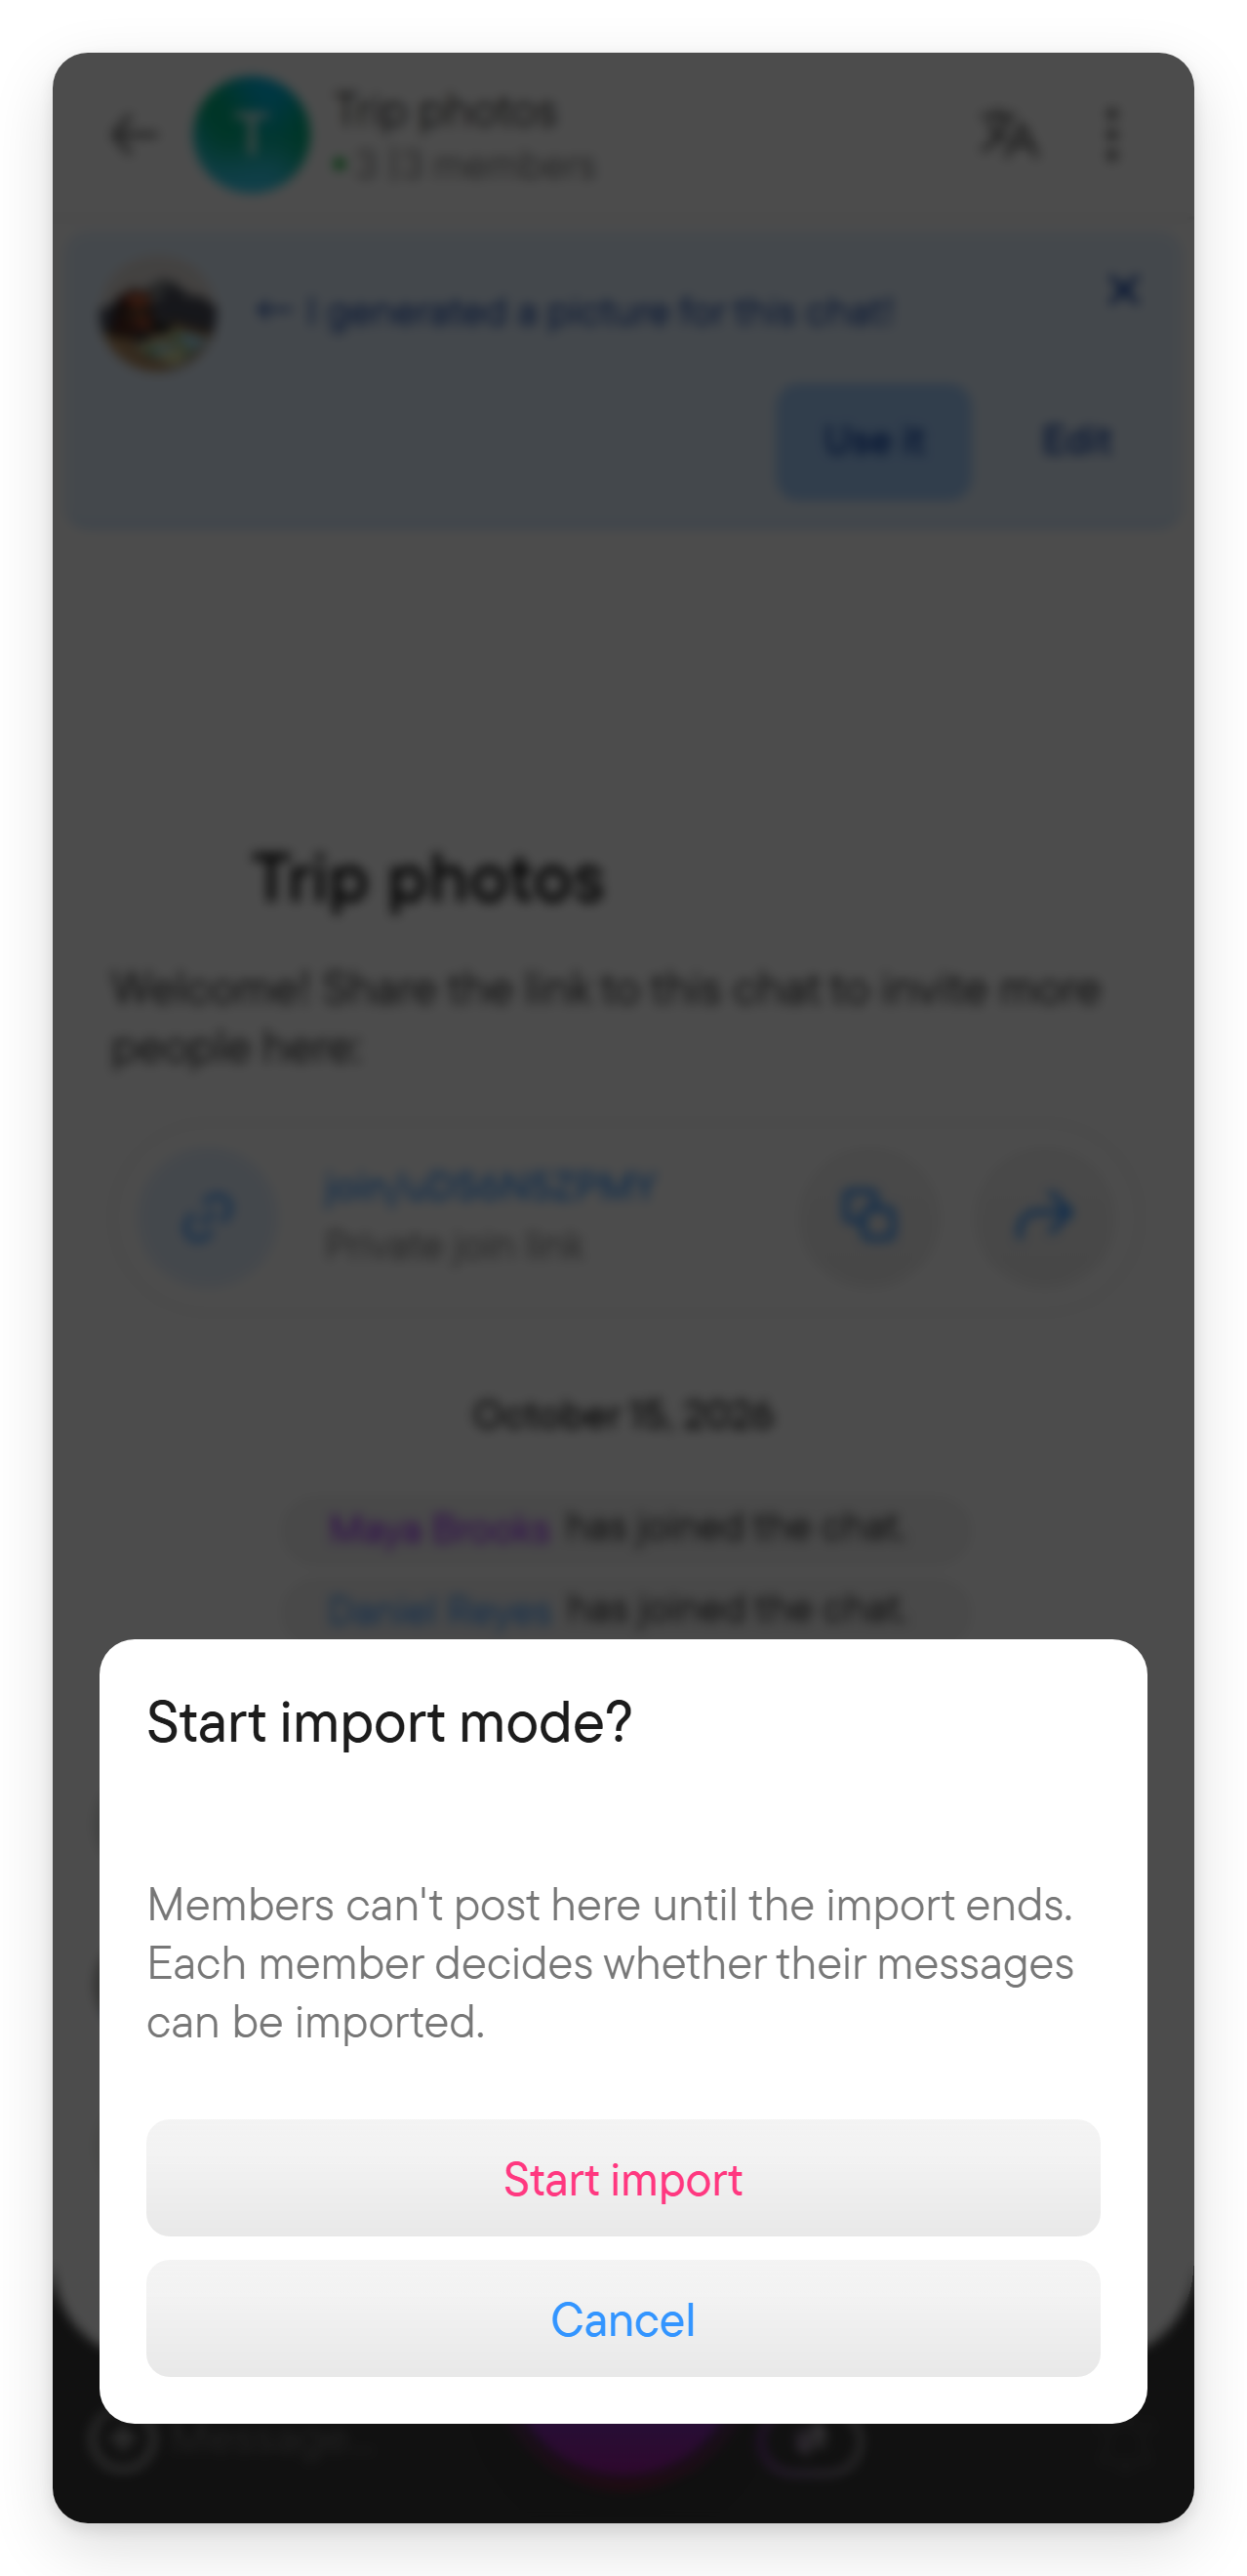
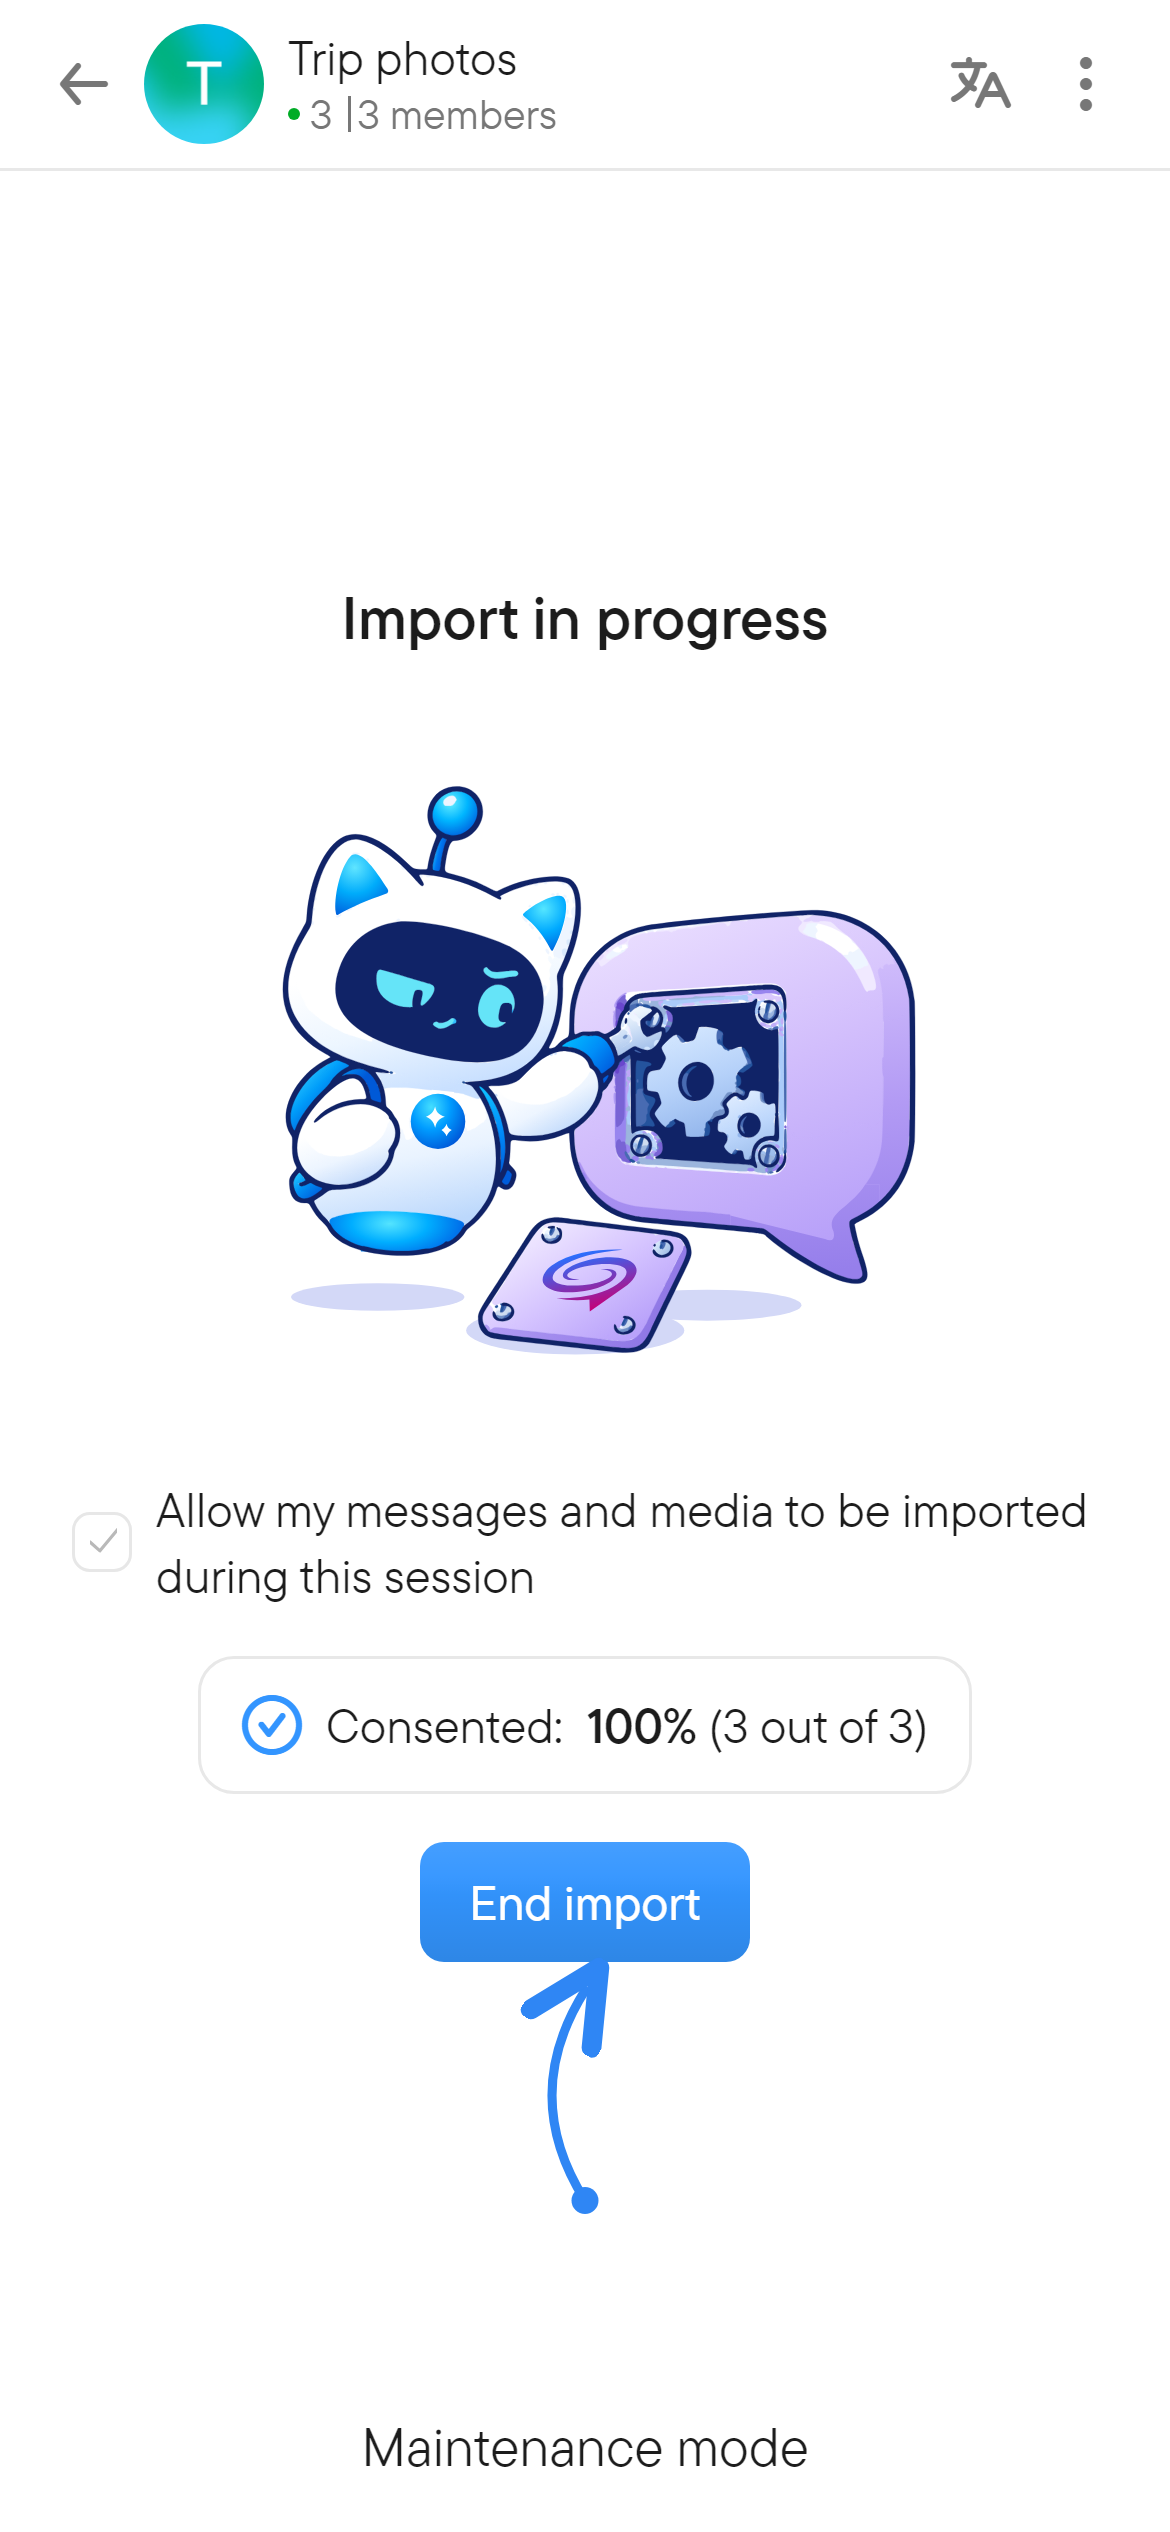
- The owner confirms Start import mode? The dialog says members cannot post until the import ends. A short countdown ("Entering import mode") runs while it starts, and the message box is replaced by Maintenance mode for everyone, owners included.
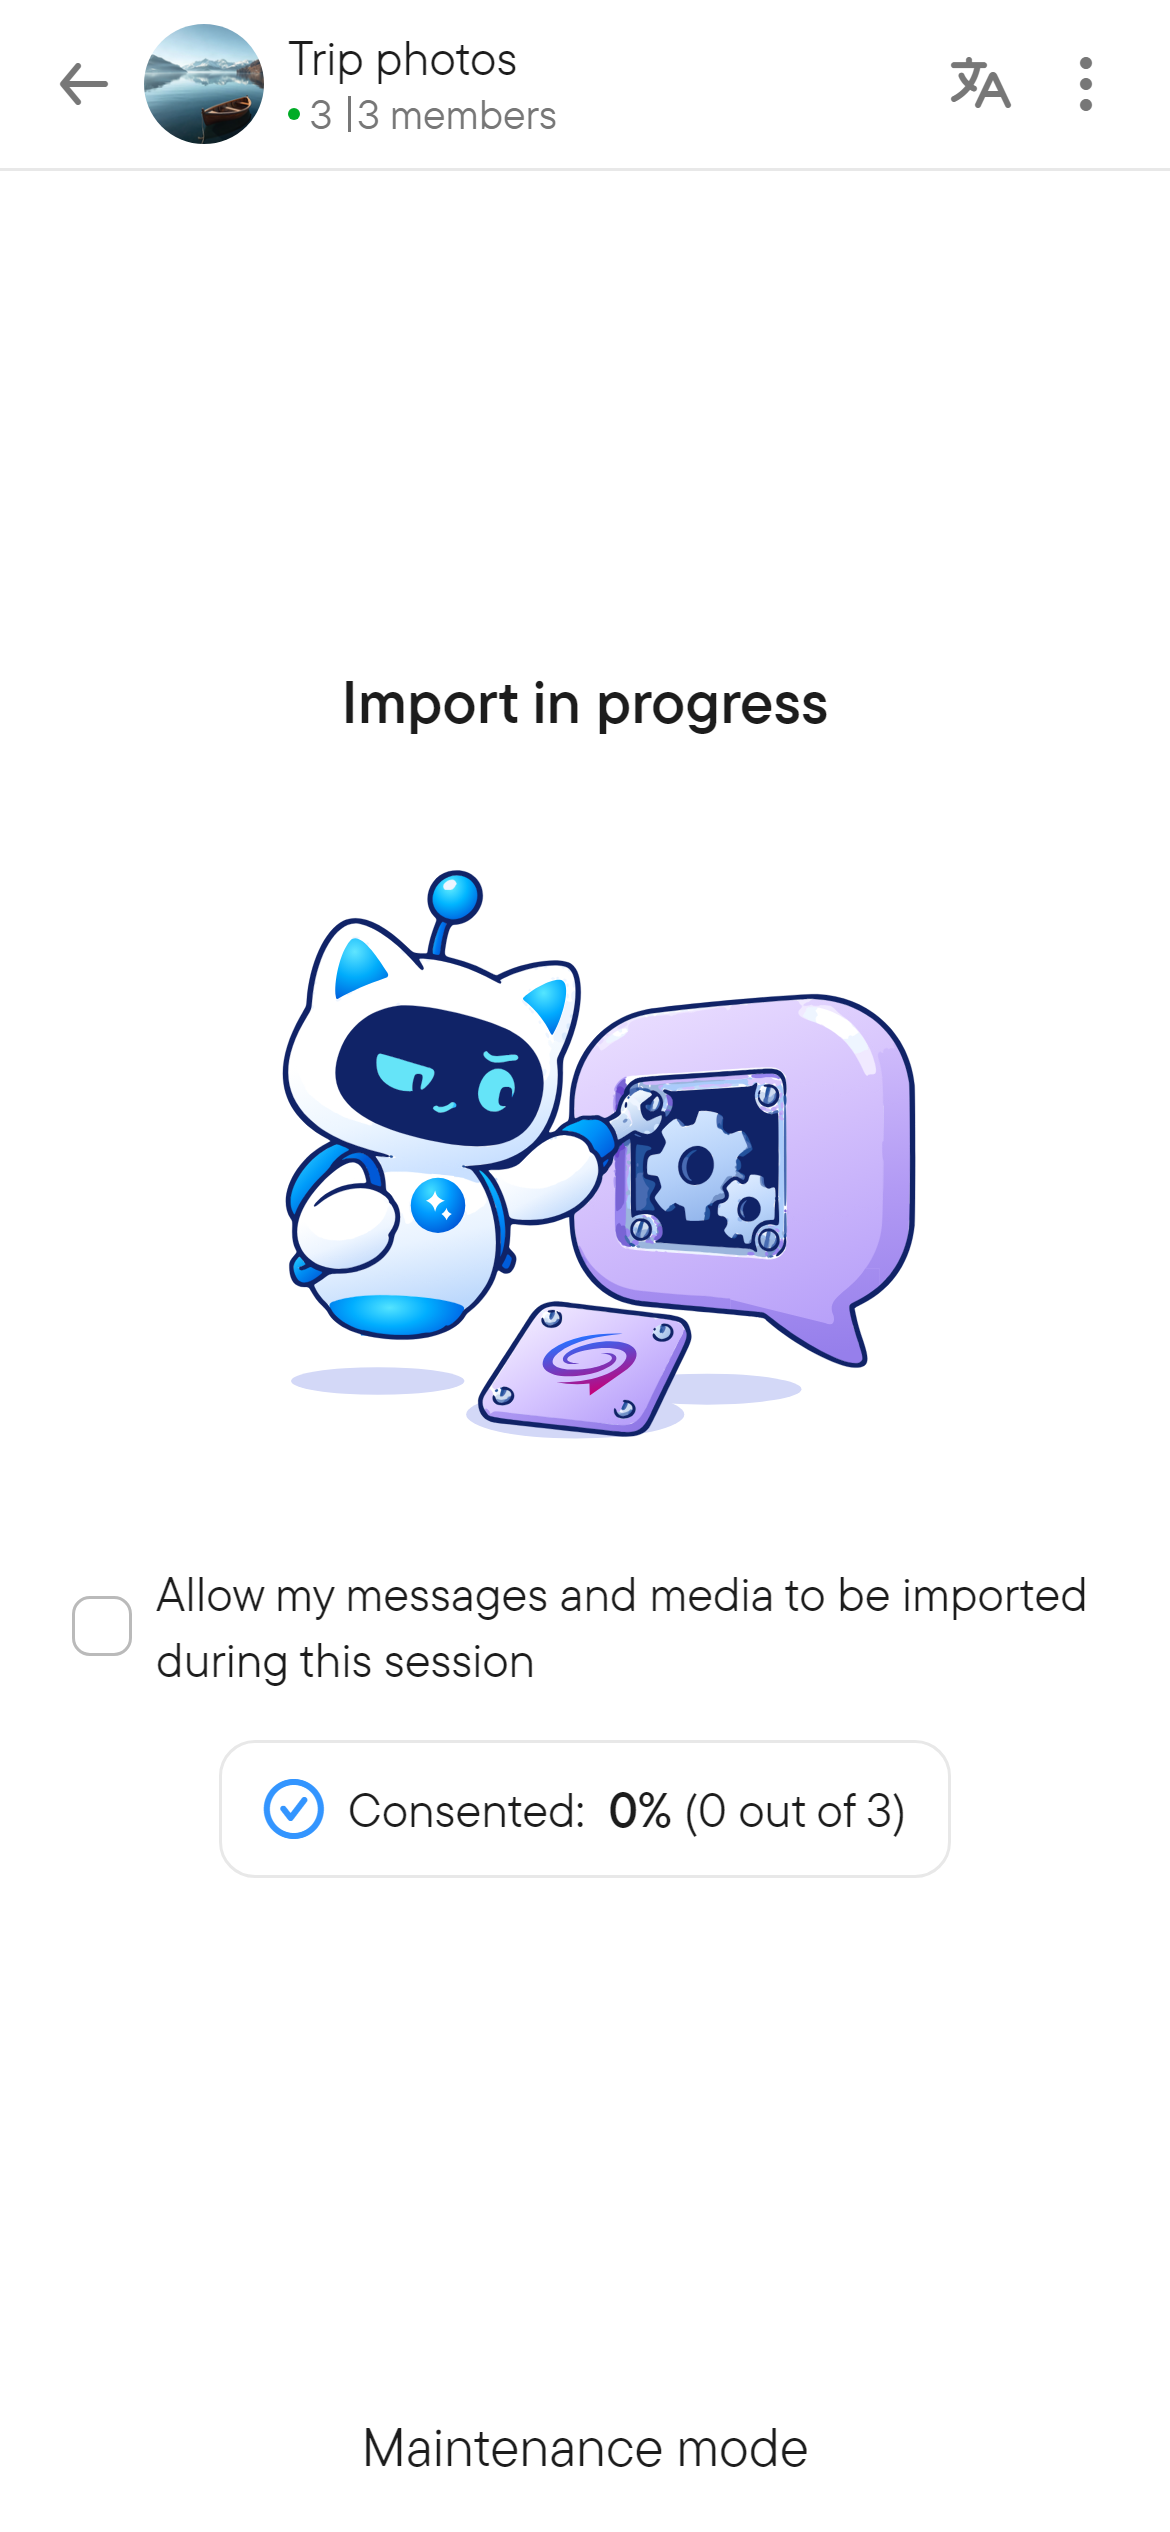
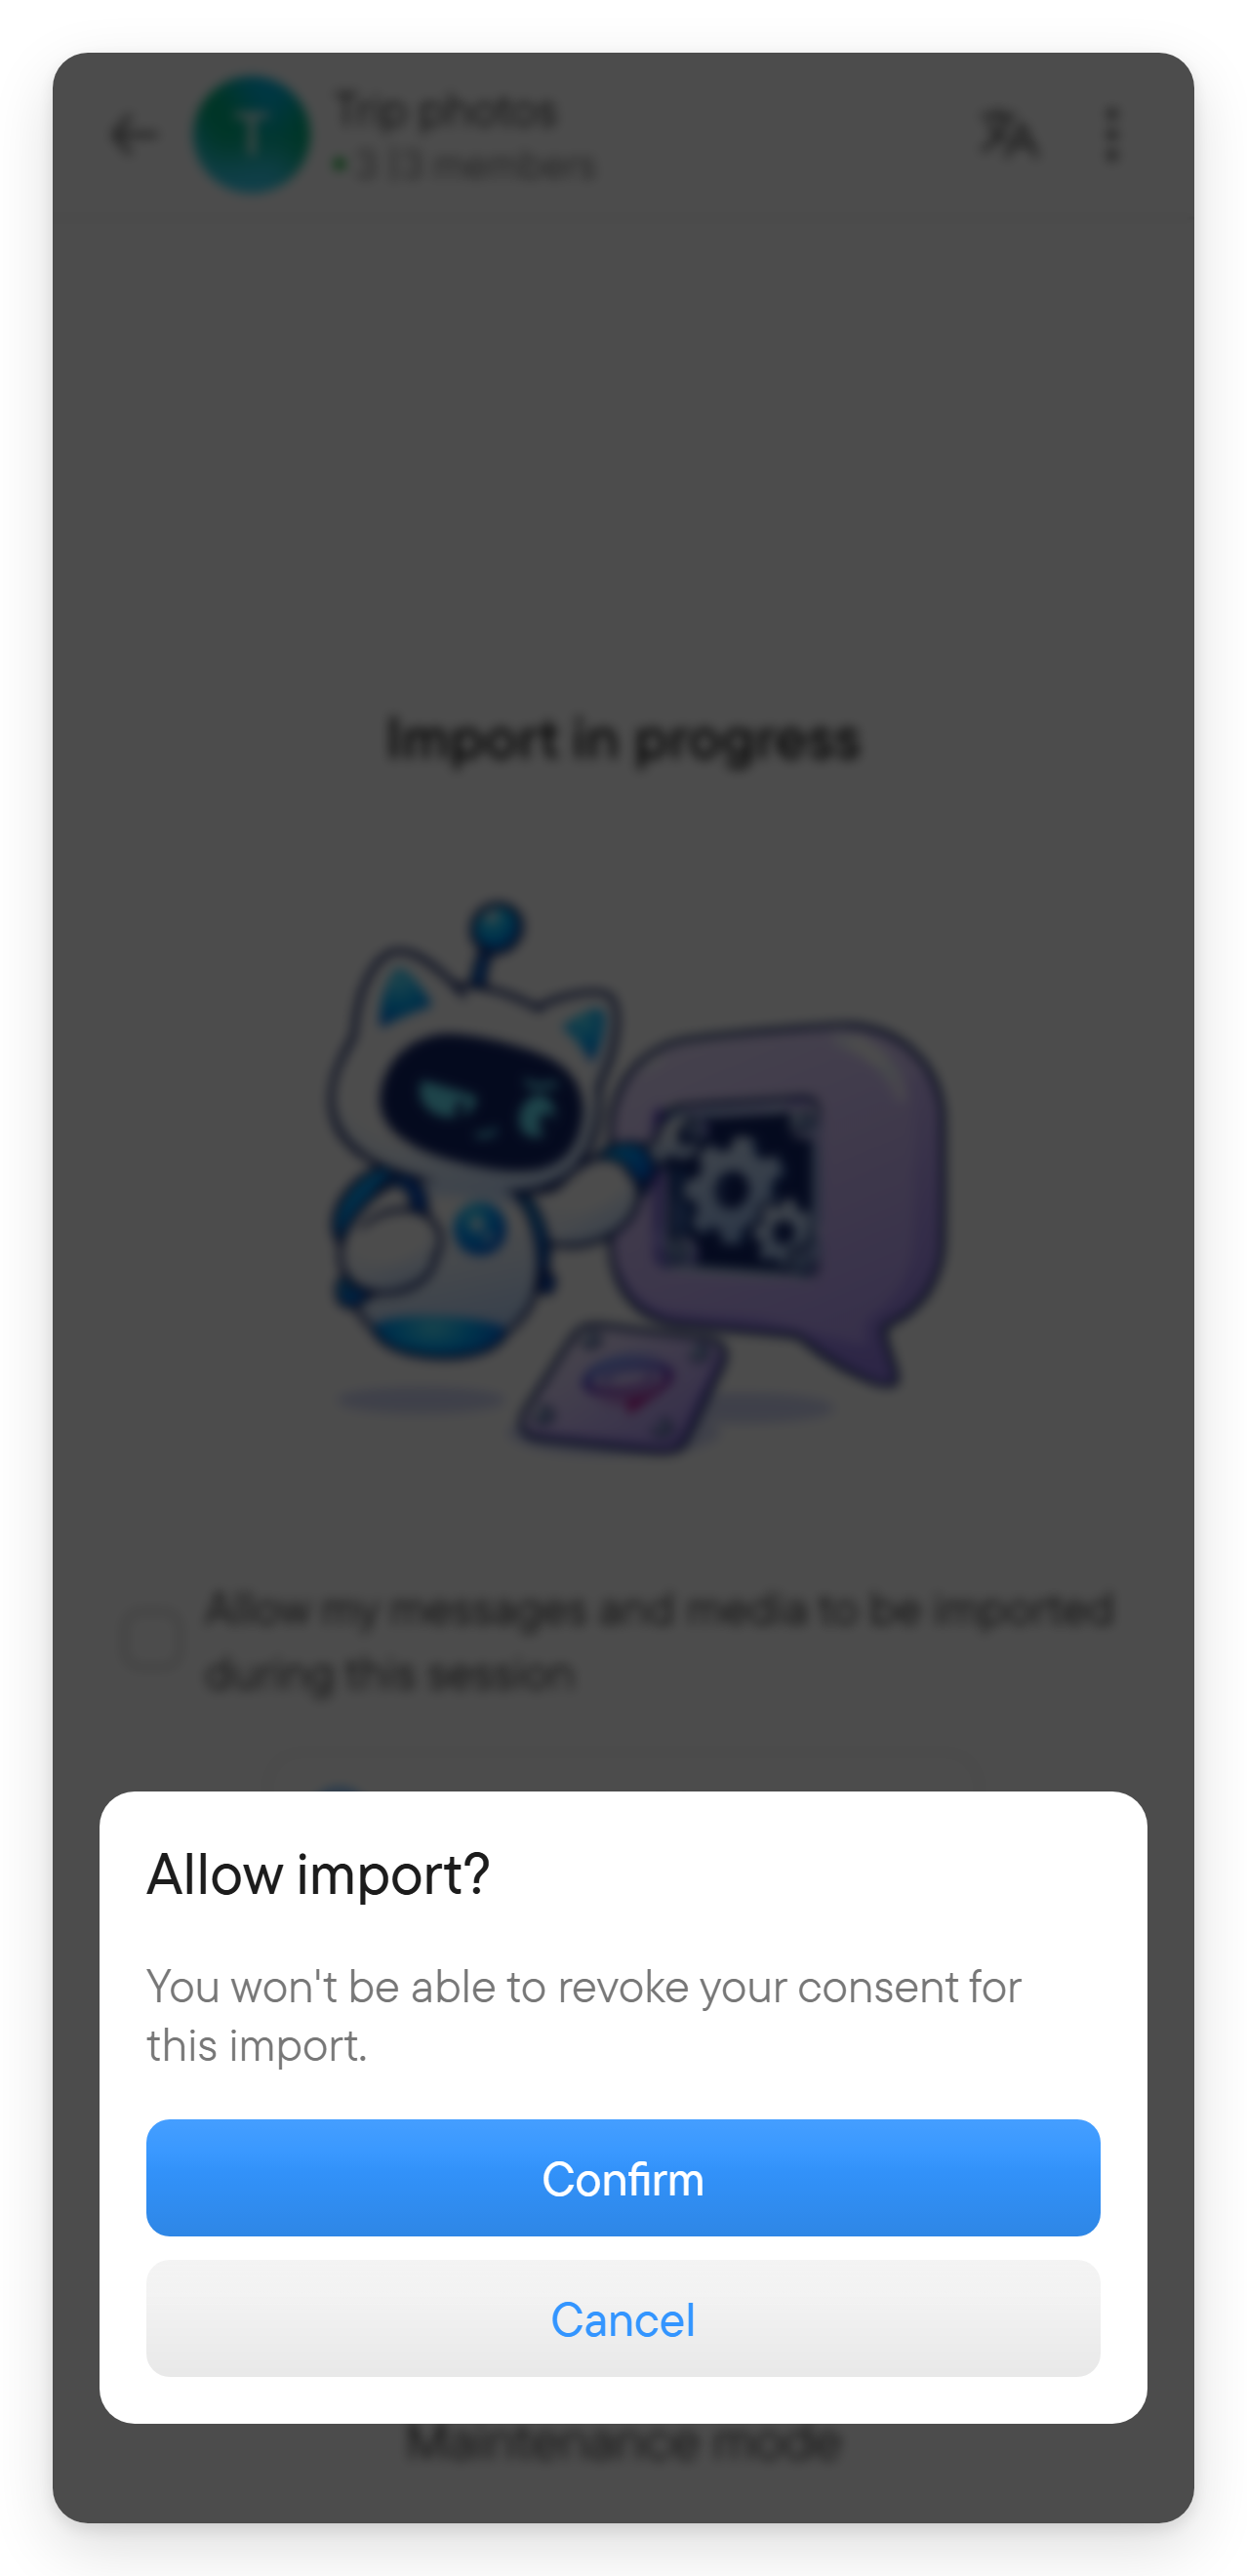
- Each member sees Import in progress in the chat. Selecting Allow my messages and media to be imported during this session opens Allow import?, which says the consent cannot be revoked for that import; choose Confirm. A place-wide import says it includes every chat in the place.
- The page shows the share of members who consented ("Consented: 0% (0 out of 2)"). The owner also sees who is still waiting.
- The owner selects End import to finish and let members post again.
The app only starts and ends the session and collects consent; the history itself is sent through the import service of the API. This section covers only what members see in Voxt; Import and export explains the whole process and how to export a chat.
Related guides
- Threads for a focused discussion.
- Contacts for people, display names, and blocking.
- Notifications for unread activity and alerts.